A topographic map, a charged phone and a headlamp can matter as much as the trail beneath your boots when you are hiking alone. Without a companion to share navigation, weather decisions or a late turnaround, a route’s distance tells only part of the story: elevation gain, exposure, retreat options and mobile coverage shape the real effort.
This guide is for independent travellers and beginner-to-intermediate hikers planning a single day outdoors. It helps you choose between a forgiving lowland loop, a sustained forest climb, a demanding alpine viewpoint or a guided technical route, then plan the weather check, equipment, permits and emergency contact that fit. The aim is not maximum mileage; it is a solo day hike with enough margin to remain enjoyable when conditions or energy change.
Quick answer: For a first solo day hike, choose a short, well-marked lowland or coastal route with easy retreat options, matching its distance, elevation and exposure to a hike you have already completed comfortably. Carry independent navigation, water, layers, a headlamp and first aid, check the local forecast and access rules, and send someone a written trip plan; use a guide for technical, exposed, remote or unfamiliar terrain.
Why go solo: the appeal of a self-directed day outdoors
Solo day hiking gives you control over the day’s rhythm. You can leave when conditions are favourable, walk at a pace that suits your breathing, stop to study a ridge or shoreline, and turn back without negotiating someone else’s timetable. The reward is concentrated rather than elaborate: a physical challenge, quiet time outdoors and closer attention to the landscape, without the food, shelter and resupply planning of a multi-day trek.
That independence also changes what the walk asks of you. There is no companion to notice a fading weather window, confirm a junction or share decisions when your legs are tired. The route must therefore be appropriate not only to your fitness, but also to your navigation practice, judgement and ability to retreat. The REI day-hiking guidance treats navigation, water, layers, a headlamp and first-aid supplies as core preparation; solo hikers should adapt that baseline to the terrain and forecast.
For a first outing, the aim is not maximum solitude or a dramatic summit. It is a manageable day in which you can practise reading the map, monitoring time and communicating your plans while help and an alternative exit remain realistic. A named route should be chosen only after checking its current trail-manager information, including access, closures and local hazards. Get that match right and solo hiking becomes a useful form of place-based learning: you return with more than photographs, and with clearer evidence of what you can responsibly attempt next.
Best solo routes and spots: match terrain, effort and season
For a first solo day hike, choose the route that leaves you the most room to change your mind. A short, well-marked lowland or coastal loop usually offers simpler navigation, less exposure to rapidly changing weather and more practical retreat options than an ambitious summit. Match the route to terrain you have already completed comfortably, not to the distance you hope to achieve.
Compare the route types before choosing a trail
| Route type | Decision profile | Navigation and retreat | Weather exposure | Suitable experience |
|---|---|---|---|---|
| Short lowland or coastal loop | Best first solo outing; straightforward effort and an easy test of your trip plan | Usually simpler; several exit points may be available, but verify them locally | Lower than on high ground, though wind, heat and tides can still matter | Beginners choosing solo hiking for the first time |
| Forest or valley ascent | Several hours with sustained climbing; assess your descent as carefully as the uphill | May become less obvious at junctions; identify a turnaround and retreat route | Shade can help with heat, while rain can make paths slippery or streams rise | Hikers who have completed comparable climbs with company |
| High ridge or alpine viewpoint | Scenery comes with greater exposure and more serious consequences for a wrong turn | Requires confident navigation, an early turnaround and a reliable escape plan | High; check a terrain-specific mountain forecast because conditions can change quickly, as the Met Office explains | Experienced hikers with relevant terrain and weather judgement |
| Dry or desert hike | Plan around heat rather than simply choosing the shortest-looking route | Water, shade, route-finding and flash-flood escape options need destination-specific research | Potentially severe; avoid exposed periods identified in the local forecast | Hikers prepared for the region’s heat and water demands |
| Long strenuous summit day | A substantial commitment with little tolerance for delays or a slow return | Turnaround timing and independent navigation must be established before departure | Often extensive; do not treat technical, exposed or rapidly changing terrain as ordinary day hiking | Experienced hikers who have already completed similar effort |
| Short navigation-practice route near a base town | A low-consequence rehearsal for map reading, timing and communication | Practise with a topographic map and compass, not only a phone; USGS provides guidance on both compass and topographic-map use | Choose a forgiving forecast window and practise turning back early | New solo hikers building independent skills |
Before committing to any named trail, check the current trail-manager page for the verified distance, elevation gain, estimated duration, trailhead access, parking or shuttle arrangements, closures and local hazards. For U.S. national parks and comparable protected areas, the National Park Service advises using the relevant trip planner or access page for these details.
Also confirm whether a permit, quota, day-use reservation, hut booking or camping reservation applies; rules differ between land units. Denali National Park’s guidance, for example, shows that commercial guided day hiking can involve authorisation, while Forest Service arrangements must be checked on the current local forest page. Technical, exposed, glaciated or avalanche-prone terrain belongs in a specialist plan, not on a beginner’s solo route shortlist.
Difficulty, fitness and safety: know when a route is beyond you
A trail label such as “moderate” is not enough to judge a solo hike. Assess the distance, elevation gain, steepness, surface underfoot, exposure to drops or weather, route-finding, water availability, remoteness and escape options. A marked forest path with several exits may be a better first solo route than a shorter ridge walk with no easy retreat.
Compare the proposed hike with one you have already completed comfortably, not with your maximum effort. Beginners should start below that limit and allow extra time for navigation, rests and slower progress on unfamiliar ground. Set a turnaround time before leaving: if you have not reached a defined point by then, or conditions are worse than forecast, turn back while the route remains manageable.
Make the trip plan routine
Send a trusted person the route name or map link, trailhead, vehicle description and registration details, planned start time, expected return time and any alternative route. Include the local emergency number and agree exactly when they should raise the alarm if you have not checked in. Add the relevant park, forest or mountain-rescue procedure after checking the destination’s official guidance; mobile coverage and response arrangements vary, so do not assume a phone call will work.
For remote terrain or a route with weak reception, consider a satellite messenger and learn its check-in and emergency functions before departure. A device is a supplement to planning, not permission to take on terrain beyond your skills.
Navigate before the trail becomes confusing
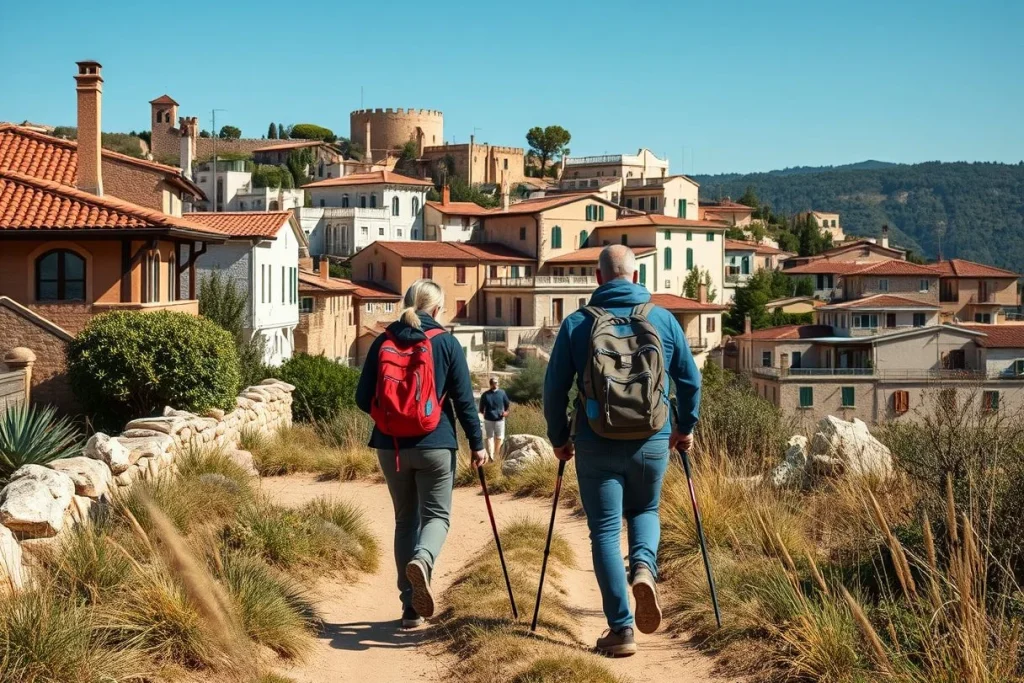
Download the route for offline use, but do not make phone GPS your only navigation method. The U.S. Geological Survey’s map-and-compass guidance explains how a compass works with a topographic map; practise nearby before relying on the method in a remote area. Check your position at junctions and distinctive landforms rather than waiting until you are lost.
When weather or hazards change
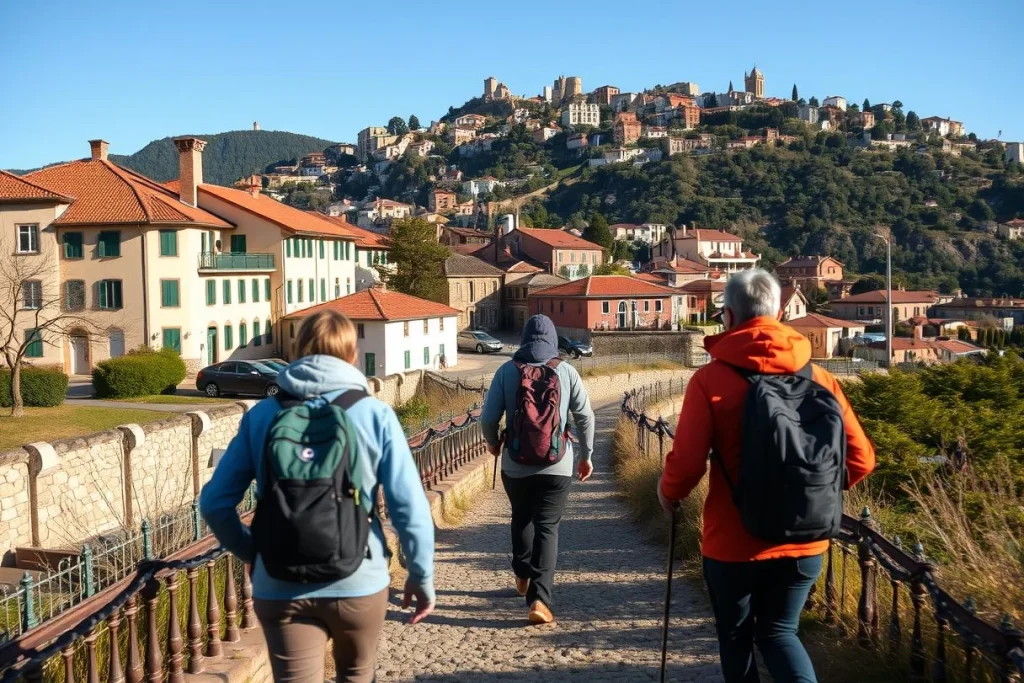
Check a mountain or regional forecast immediately before departure and match it to the route’s terrain. The Met Office mountain-forecast guide emphasises that conditions can change quickly; storms, rapid temperature drops, poor visibility, heat, wildfire or flooding are reasons to postpone, shorten or abandon the hike. Do not shelter beneath exposed trees during a storm or continue towards a ridge when visibility and timing are deteriorating; retreat to the safest known point and follow local emergency advice.
For ticks and other arthropods, the CDC Yellow Book recommends EPA-registered repellents such as DEET or picaridin and discusses permethrin-treated clothing. Check the destination’s current guidance for wildlife, heat, wildfire and other local hazards before setting out.
Solo hiking gear checklist: what to carry, rent and test
Pack for the consequences of a delay, not only for the forecast at the trailhead. The REI day-hiking checklist is a sound baseline; adjust it for elevation, remoteness, season and the local forecast.
- Navigation: carry a charged phone with the route downloaded for offline use, plus a paper topographic map and compass. GPS is useful, but the U.S. Geological Survey’s map-and-compass guidance supports having a method that does not depend on battery or signal.
- Water and food: take enough water for the planned effort, a treatment method suited to the route, and food plus an extra snack in case the hike takes longer than expected.
- Protection from weather: pack a warm layer, rain protection and sun protection even on a short outing. Check the mountain or regional forecast before departure; the Met Office mountain forecast guide notes that conditions can change quickly in high terrain.
- Emergency basics: bring a headlamp, first-aid kit, whistle, emergency shelter or warmth layer, repair items and personal medication. A headlamp matters if an easy return becomes a late one.
- Terrain-specific additions: use poles or traction only when the surface, gradient or forecast justifies them. Carry extra insulation or more water for exposed, cold or dry environments rather than treating them as universal requirements.
- Insect protection: the CDC Yellow Book recommends EPA-registered repellents such as DEET or picaridin and discusses permethrin-treated clothing for reducing tick and other arthropod bites.
Renting can make sense for occasional trips, but check local availability, condition and sizing before relying on borrowed equipment. REI’s published October 2026 examples put many stove or pack rentals at roughly US$10–20 per night; tent prices vary by model. A satellite messenger and bear spray are destination- and hazard-dependent, not standard items everywhere.
Test new footwear, rain layers, stove systems and navigation devices before the hike. A short practice walk near your base is the right place to discover a blister, confusing interface or faulty battery—not a remote ridge.
Guided or independent: choose the right level of support
Guided or independent: choose the right level of support
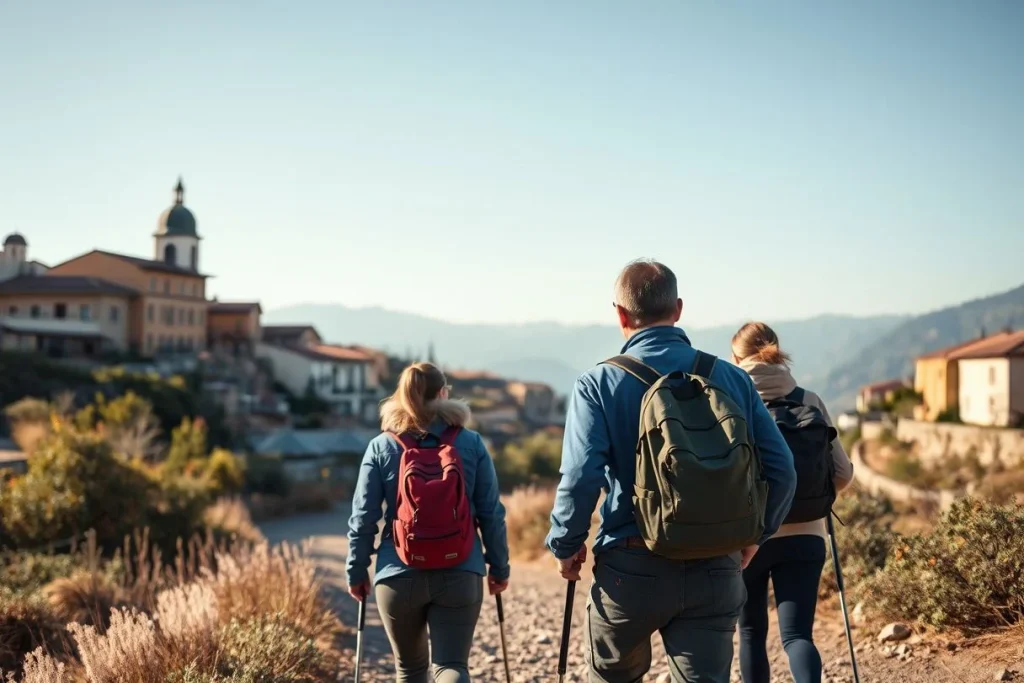
Independent hiking suits a route you can navigate confidently and leave safely if conditions change. You set the pace, may find more solitude and pay less directly than you would for a guide, but route-finding, weather interpretation, transport and the emergency plan are yours to manage. For a first solo day, choose marked, non-technical terrain with clear retreat options. Unfamiliar, exposed or remote ground is where professional support earns its cost.
A guide brings local route knowledge, navigation, language support and weather interpretation, along with logistical help. On technical terrain, that can include managing exposure or other objective hazards. It won’t replace suitable clothing or fitness, and you’ll need to disclose your experience honestly: tell the operator how much solo hiking you’ve done, your pace, any medical considerations and whether you’ve used a map and compass. The guide should adapt the route rather than treat the advertised itinerary as a promise.
Before booking, ask about the guide’s qualifications and insurance, group size, emergency and evacuation plan, inclusions, meeting transport and cancellation policy. Confirm that the outing is genuinely suitable for a beginner travelling alone, and check whether equipment, permits or park transport cost extra. A private full-day guide can also work as a skills day before you attempt independent hiking. It needn’t replace the judgement you’re still developing.
A one-day hike may still require a permit. Entry, day-use, backcountry and commercial-use rules vary by land unit. Denali National Park and Preserve’s guidance shows that commercial guided day-hiking services may require commercial-use authorisation; that isn’t a rule for every park. Check the current local National Park Service trip-planning page or USDA Forest Service page for permits, access, camping and operator requirements before committing.
Best time for a solo hike: weather windows, daylight and crowds

The best time for a solo day hike depends on the terrain, not a universal peak-season calendar. Summer and early autumn often provide the most workable window for alpine routes, when snowmelt, daylight and trail access are more favourable. In dry or desert regions, spring or late autumn may be more comfortable than midsummer, when heat and water requirements can turn a moderate walk into a serious undertaking.
Treat June, July, August and December as possible high-demand months rather than automatic recommendations. Before choosing dates, check the destination’s climate normals, daylight hours, snowmelt pattern, wildfire or monsoon risk, flash-flood guidance, seasonal closures, timed-entry rules, shuttle arrangements and local events. A park’s official trip-planning or access page is the right place to confirm transport and trailhead arrangements; the National Park Service gives this advice for its parks in its trip-planning material.
For a first solo hike, choose a stable daylight window and avoid the shoulder-season hazards identified by local authorities, such as lingering snow, unstable ground, extreme heat or rapidly shortening days. Check the local mountain or regional forecast immediately before departure, even if the wider-area forecast looks benign: the Met Office’s mountain forecast guidance explains that conditions can change quickly with terrain and elevation. If thunderstorms, high winds, heavy rain, rapid temperature drops or poor visibility are forecast, postpone or choose a lower, shorter route. Recheck access on the morning of travel, since closures and shuttle schedules can change.
Use a mountain-specific forecast where one exists, and confirm seasonal rules with the relevant park, forest or trail manager before setting out.
Solo hiking costs: budget, rentals and guiding in October 2026
Solo hiking can be inexpensive once you own basic equipment, but access fees, transport and guiding vary sharply by destination. The figures below are illustrative planning estimates for October 2026, not destination-wide prices.
| Estimated cost (October 2026) | Budget | Mid-range | Luxury |
|---|---|---|---|
| Solo day outing | Under US$50 | Not applicable | Not applicable |
| Short-term gear rental | US$10–20 per night for many stove or pack rentals | US$50–80 for a typical 2–3-person tent’s first night | Not stated |
| Private full-day guided hike | Around US$100 per person | Not stated | Not stated |
| Private alpine guiding | Not stated | Around €400 per guide-day | €400–800+ per guide-day |
Basis and date: the day-outing estimate is per person for local transport, snacks and applicable parking or park-entry costs, based on an October 2026 illustrative estimate. Rental figures come from REI’s pricing page, crawled in October 2026. The guided examples are from Romania Adventures and MountainsPro; recheck current operator quotes.
A tent rental is usually unnecessary for a day hike, while a pack may be worthwhile if you are travelling light. Before booking, verify current park-entry, parking, shuttle and rental charges with the relevant official park or forest service, since access arrangements and availability change.
| Item | Budget | Mid-range | Luxury |
|---|---|---|---|
| Budget solo day outing | Under US$50 | — | — |
| Short-term outdoor-gear rental | US$10–20 for many stove or pack rentals per night | Around US$50–80 for a typical 2–3-person tent's first night | Not stated by source |
| Private full-day guided hike | Around US$100 per person in the cited Romania example | Not stated by source | Not stated by source |
| Private alpine guiding | Not stated by source | Around €400 per guide-day in some published European examples | €400–€800+ per guide-day |
Estimated ranges based on the sources listed below. Prices change; check with providers before booking.
Conclusion: start with a forgiving route and earn more ambition
Make your first solo day hike deliberately forgiving: choose a short, well-marked lowland or coastal route near a town, with easy retreat options and no technical terrain. You are testing your planning system as much as your legs.
Before leaving, take three steps: verify the local trail page and mountain or regional forecast; study the route on a map and write down your trip plan, turnaround time and emergency contact; then tell a trusted person where you are going and when to expect your return.
Only add distance, elevation or remoteness after completing that first hike comfortably. If the route is unfamiliar, exposed, technical or genuinely remote, book a qualified guide—or start with a nearby guided hike or navigation class before travelling independently.
Frequently asked questions
How far should my first solo day hike be?
There is no universal distance: choose a short, well-marked lowland or coastal route that you have already walked comfortably, with straightforward navigation and an easy retreat. A short navigation-practice hike near your base town is a sensible first test. Build towards longer or steeper routes only after you understand your pace, water needs and turnaround time. REI’s day-hiking guidance supports adapting preparation to the terrain and weather.
Is a phone enough for navigation on a day hike?
No. Phone GPS is useful, but it should not be your only navigation method, particularly where batteries, signal or weather may become problems. Carry a suitable topographic map and compass, and practise using them before leaving. The U.S. Geological Survey explains how to use a compass with a USGS topographic map and how map-and-compass skills support finding your way: USGS guidance.
What should I do if I lose the trail?
Stop rather than continuing in the wrong direction. Use your topographic map, compass and known landmarks to work out your last confirmed position; do not rely on a phone signal being available. If you cannot confidently relocate the route, turn back along the ground you recognise or use your emergency communication plan. USGS map-and-compass guidance is worth practising before attempting a remote or unfamiliar hike.
How can someone track my return if I have no signal?
Send a trusted person a written trip plan before departure: route, trailhead, intended turnaround time and the time by which you will confirm that you are back. Agree what they should do if you miss that check-in, using the destination’s official emergency and search-and-rescue instructions. In remote terrain, consider a satellite messenger, but test the device and explain its use before travelling; do not assume mobile coverage.
Can I turn around before reaching the viewpoint or summit?
Yes—and turning around is often the correct decision. Set a turnaround time before starting, then leave the viewpoint or summit goal if weather worsens, daylight is shortening, navigation becomes uncertain, or the terrain is more exposed or snowy than expected. Mountain conditions can change quickly, so check a terrain-specific mountain forecast before departure; the Met Office’s mountain forecast guidance explains why ordinary regional forecasts may not be enough.
What should I do after a tick bite or suspected insect bite?
Reduce exposure first by using an EPA-registered repellent such as DEET or picaridin; the CDC Yellow Book also discusses permethrin-treated clothing for reducing tick and other arthropod bites. After a bite, follow current CDC and local health guidance rather than guessing about destination-specific disease risk. Check the relevant health authority for symptoms, tick-removal instructions and when medical assessment is recommended: CDC Yellow Book.