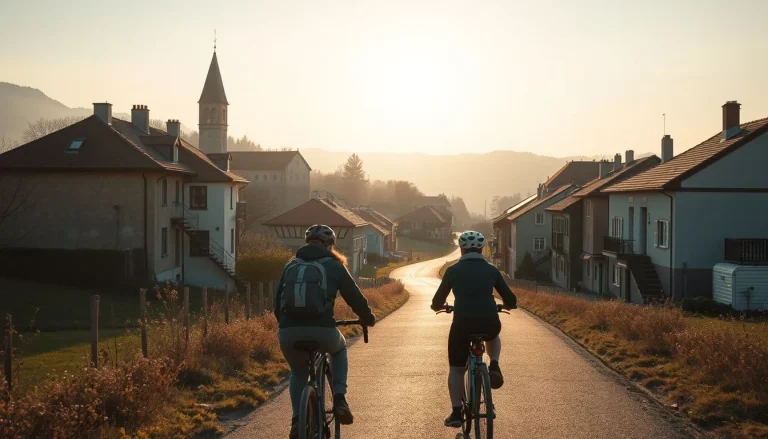
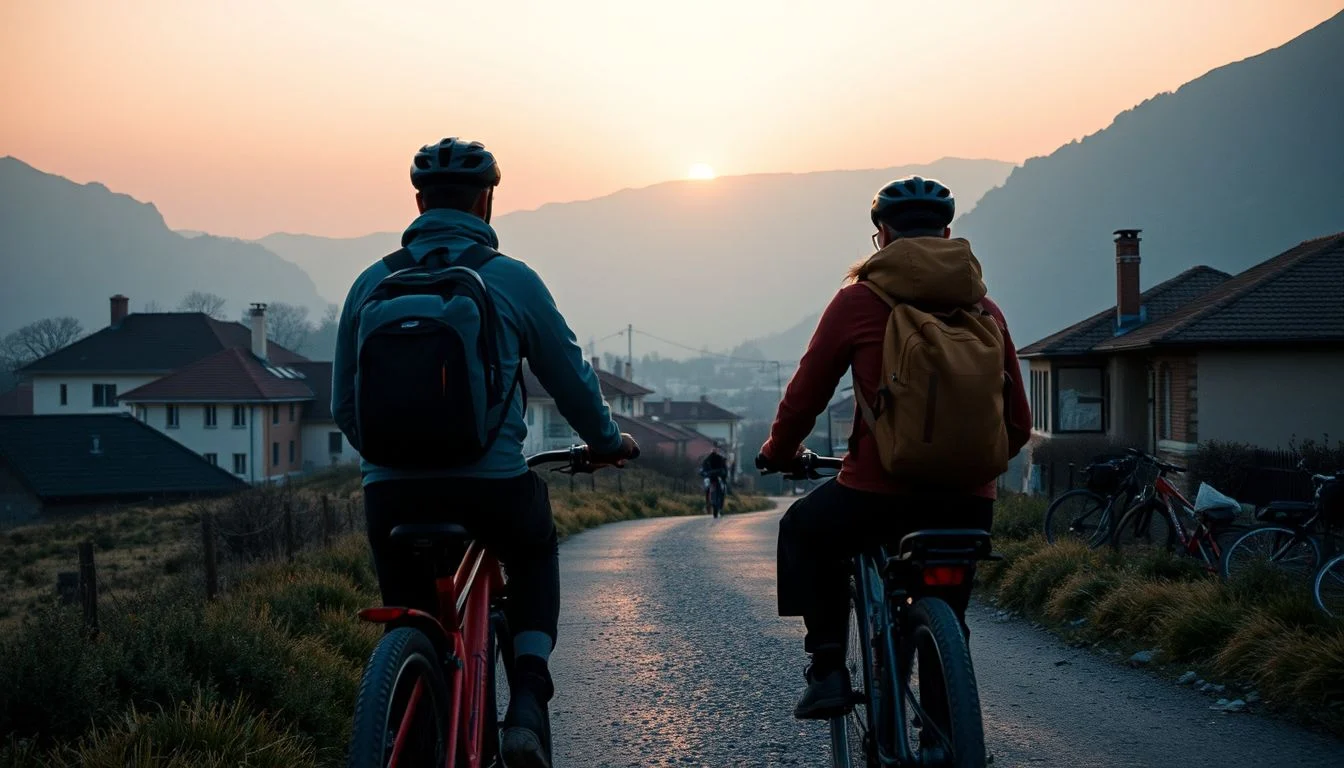
A seatpack, handlebar roll and framebag can carry the camping and sleeping kit for a first overnight ride without turning the bicycle into a touring load. That compact setup is the practical appeal of bikepacking for beginners: a one-night route can feel like a genuine expedition while keeping the navigation, resupply and mechanical risks manageable.
This guide is for road, gravel and mountain-bike riders planning their first overnighter or short multi-day trip. It will help you choose between a nearby mellow loop, a more remote route and a supported tour; set a realistic daily distance; select essential kit; and plan water, food, repairs, transport and seasonal conditions. The central decision is not how far an experienced rider can travel, but how much uncertainty you can handle with luggage on the bike. For most newcomers, that means starting close to home, testing the setup before departure and treating route-specific information as essential rather than optional.
Quick answer: For most first-timers, choose a nearby one-night, self-supported route on mellow road or gravel, planned at roughly 30–80 km per riding day. Pick a guided or supported tour if navigation, repairs, camping logistics or remote riding feel outside your comfort zone, and verify current route conditions, water, access rules and bike transport before leaving.
Why a first overnight bikepacking trip is worth it
Picture rolling out on a quiet gravel lane with a seatpack swaying lightly behind the saddle, a handlebar roll holding your sleep system and enough food for the night. By late afternoon, the road has become a simple campsite and the next morning’s ride is already part of the journey. That small change of scale is the appeal of bikepacking: travel by bicycle, carry what you need and let the route shape the day.
REI describes bikepacking as self-contained bicycle travel built around lightweight bags, usually including seat, handlebar and frame storage, plus a minimal camping and sleeping system. It overlaps with conventional bike touring, but the distinction is useful: bikepacking generally favours compact luggage and routes that may include gravel or trail, while touring often uses larger panniers and more road-based travel. There is no hard boundary, and the same bicycle can serve both styles.
The format scales well. A trip may last one night or several weeks, and it can suit road, gravel and mountain-bike riders when the bike, luggage and surface are compatible. A road bike can handle shorter, smoother routes if it has suitable tyre clearance and secure luggage attachments.
That leaves a practical choice. A local self-supported overnighter keeps the route, pace and sleeping arrangements in your hands, with little logistical commitment. A supported trip costs more, but can remove much of the navigation, luggage and camping organisation; it is the calmer entry point for riders who want the riding without yet mastering every expedition task. Adventure Cycling Association’s route resources and BIKEPACKING.com’s searchable library are useful places to begin comparing possibilities.
Best beginner routes: choose by surface, commitment and season
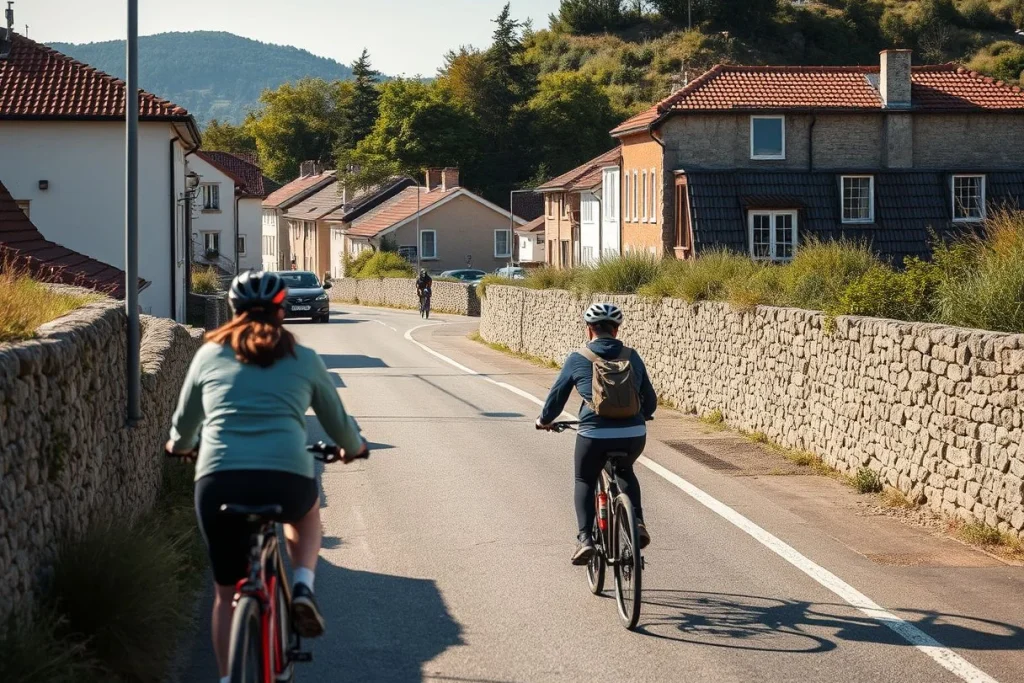
For bikepacking for beginners, choose the route that limits consequences when plans change. A nearby loop lets you test bags, food, pacing and sleeping arrangements without committing to a remote landscape. Use the searchable BIKEPACKING.com route library and Adventure Cycling Association route resources as starting points, then confirm details with the current GPX, route owner and land manager.
| Route type | Surface and traffic | Navigation and services | Camping style | Suitable rider |
|---|---|---|---|---|
| Local one-night gravel loop | Mellow road or firm gravel; choose quiet lanes where possible | Lowest complexity; familiar access and easier resupply | One campsite or legal overnight option near home | Best first test, especially for a complete beginner |
| Quiet-road or firm-gravel weekend | Predictable surfaces with limited traffic exposure | Regular shops or cafés may simplify food planning; verify locations | Campground or accommodation, depending on the route | Road and gravel riders wanting a manageable weekend |
| Aroostook overnighter | Investigate the route-library surface and road conditions | Check the current GPX for navigation, water and resupply | Confirm permitted camping and reservations | A short route-library example to assess, not an automatic recommendation |
| Southern Cabinets segment | Assess the current mixed-surface and traffic profile | Potentially greater remoteness; plan water, repairs and resupply carefully | Check land-manager rules and legal camping options | Riders ready for more commitment after a successful overnighter |
| Intermediate mixed-surface route | More varied riding, climbing or rougher surfaces | Less frequent services may require deliberate food and water planning | Camping or simple accommodation verified in advance | Experienced cyclists who have tested their loaded setup |
| Remote mountain or desert route | Potentially technical, exposed or traffic-free but isolated | Complex navigation, repair, water and emergency planning | Rules, permits and seasonal access require direct checking | Advanced riders, not a default beginner route |
A flexible beginner planning range is roughly 30–80 km per riding day on mellow terrain; it is a guideline, not a promise about any named route. Distance, elevation, surface, water availability, resupply and access can change with weather, closures or reroutes, so check the current route page and GPX before departure. Seasonal suitability also belongs in that check: heat, snow, flooding, insects and land-manager restrictions can turn an apparently simple route into a poor first choice.
Difficulty, fitness and safety: how hard should day one be?
Bikepacking pacing is governed by time in the saddle, climbing, surface and stops—not distance alone. A sensible first target is roughly 30–80 km per riding day on mellow terrain. Intermediate riders may plan around 60–120 km, but luggage, headwinds, heat, elevation and long gaps between resupply points can reduce those figures quickly, according to the Adventure Cycling Association. If you are unsure, shorten the route rather than relying on a late finish.
Before leaving, complete a loaded shakedown ride on familiar roads. Check how the bike handles with bags, practise eating and drinking while riding, and use the ride to find loose straps or uncomfortable contact points. Start early, set a realistic turnaround point, and keep enough daylight in reserve for a puncture, wrong turn or sudden weather change. Absolute beginners should not choose remote terrain without a navigation, repair, water and emergency-communication plan.
Carry a repair kit suited to the bike: spare tubes or a tubeless repair method, pump, tyre levers, a multi-tool and the knowledge to use them. Download the route for offline navigation and leave a trusted contact your itinerary, expected finish and plan for a missed check-in. On roads, use lights and high-visibility clothing where appropriate; on trails, control your speed, yield according to local rules and pack out everything you bring in, as advised by the International Mountain Bicycling Association and the National Park Service.
Check the forecast immediately before departure, including heat, wind, flooding, wildfire and storms. Identify a safe exit if conditions deteriorate, and consider fire restrictions, wildlife guidance and road closures from the relevant land manager. Verify every refill point: water that looks clear is not automatically potable, and a remote route can become demanding when the next reliable source is closed.
In warm or forested areas, use suitable insect repellent, consider permethrin-treated clothing where appropriate and check your body for ticks after riding through brush. These are among the CDC’s precautions for avoiding bug bites. Riding with a partner adds resilience, but solo travel can be reasonable on a short, serviced route when someone at home has your live plan and emergency arrangements.
Bikepacking gear list: what to bring, rent or test first
Start with the bike you already own
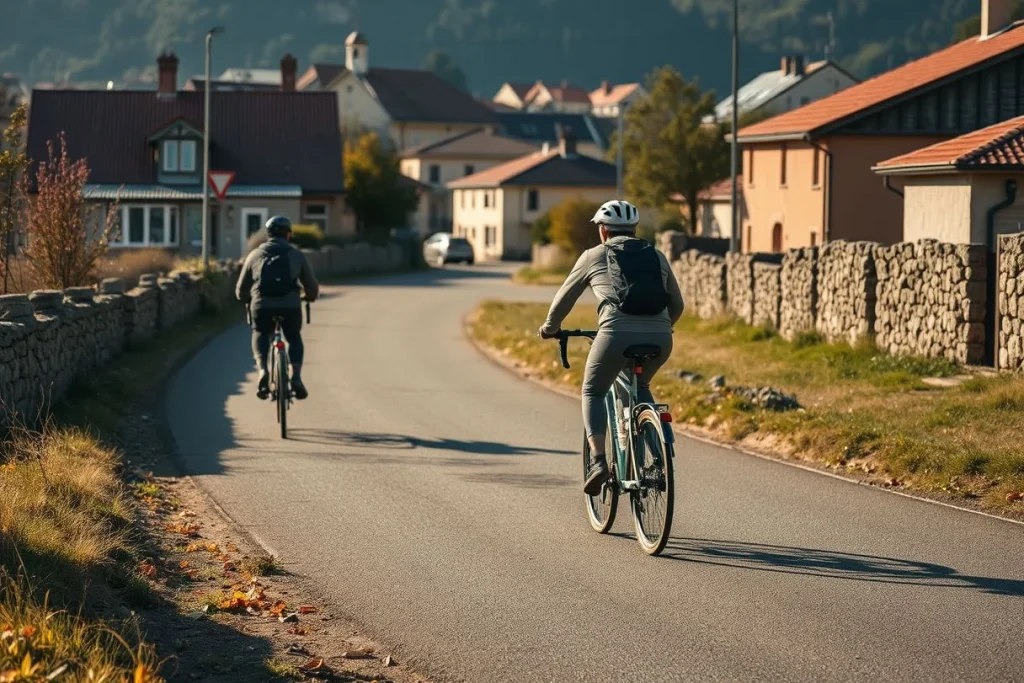
For a first overnight, the existing bike matters more than buying a purpose-built model. Check that its tyre clearance suits the route, the brakes and gearing are in good condition, and the bags can attach securely without rubbing cables, tyres or your legs. A road bike can work on a short, smooth route when its clearance and attachment points are compatible; rough gravel and technical trails call for a more suitable setup. REI’s bikepacking guidance is a useful starting point for matching bike and equipment.
A minimalist one-night bikepacking checklist
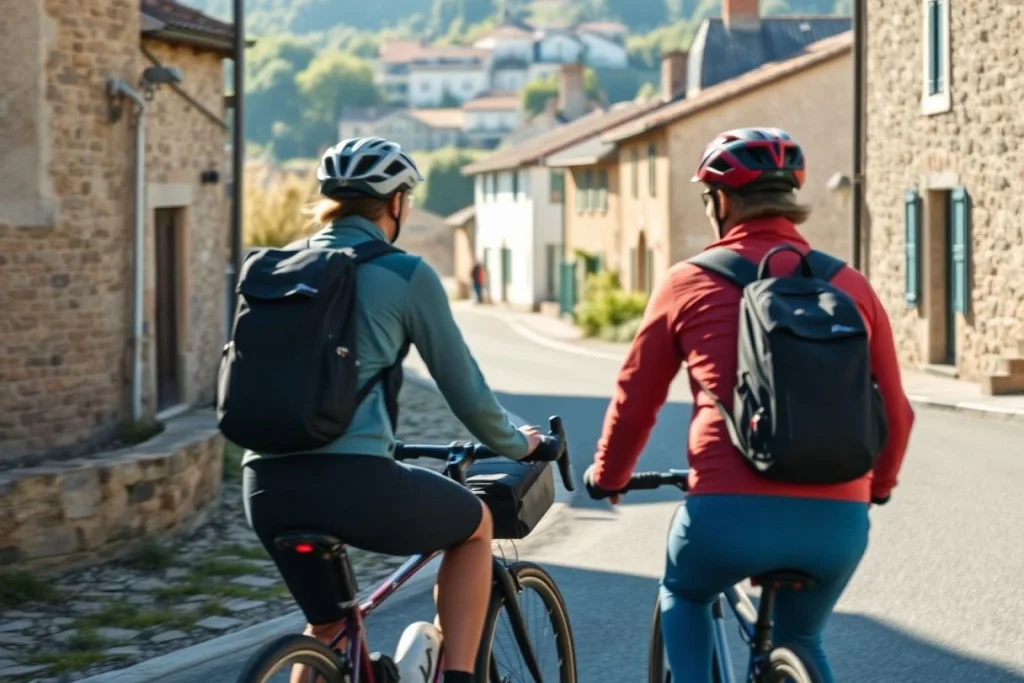
- Luggage: begin with a seatpack and handlebar roll; add a framebag only when you genuinely need more capacity. This is the basic arrangement described by BIKEPACKING.com’s bikepacking basics. Use dry bags inside, and keep anything needed during a roadside stop where you can reach it.
- Shelter and sleep: take a tent, tarp or other permitted shelter, sleeping bag or quilt, and sleeping mat. Choose the lightest system that suits the forecast and the land manager’s camping rules, rather than carrying a full comfort setup for one night.
- Clothing: pack riding clothes, a warm or waterproof layer, dry sleep clothes, spare socks and gloves appropriate to the forecast. Keep the dry clothing sealed until camp.
- Food and water: carry enough for the gaps between confirmed refill and resupply points. Check whether each water source is potable; do not treat a map symbol as a guarantee.
- Navigation and communication: take a phone with offline maps, a power bank, and a route file or paper backup. Share the plan and expected check-in with someone at home.
- Repair and first aid: carry a pump, tubes or compatible tubeless supplies, tyre levers, a multitool, chain-repair equipment and a small first-aid kit. Keep these accessible rather than buried under sleeping gear.
Before leaving, load the bike and ride it locally. A short test reveals bag sway, awkward access and unfamiliar handling while you can still rearrange everything. Rent bags, a shelter or a complete bike when this is a one-off trip or you are testing the style; ask a local bike shop about compatibility, fitting and return timing rather than assuming the equipment will suit your frame.
Self-guided or supported: which style fits your first trip?
Once your equipment is tested, the next decision is how much responsibility you want to keep during the ride. A nearby, low-consequence overnighter is usually best self-supported: you carry your own bags, food and repair kit, choose the route and solve small problems yourself. For remote terrain, unfamiliar surfaces or limited camping confidence, paying for support can let you concentrate on riding rather than logistics.
| Trip style | Cost and flexibility | Support and experience |
|---|---|---|
| Self-supported | Lowest-cost option; maximum route and schedule control | You navigate, carry luggage, arrange camping or accommodation, handle repairs and manage emergencies |
| Self-guided commercial | More expensive; route plan and bookings reduce flexibility | Usually centred on route files and accommodation; luggage transfers, meals, bike hire or local assistance may be available |
| Fully guided or supported | Highest cost; itinerary is generally more structured | A guide or support vehicle may provide navigation, meals, luggage transfers, mechanics, bike rental and emergency backup |
These labels vary between operators, so read the inclusions rather than relying on the headline description. Confirm whether accommodation, meals, luggage transfer, route files, transfers, mechanical help, bike hire and personal insurance are included, then check cancellation terms and what happens if weather or a closure changes the route.
For route ideas, use the searchable resources from BIKEPACKING.com and the Adventure Cycling Association as starting points, not as a substitute for current local checks. A self-guided itinerary still requires you to verify distance, surface, water, resupply, camping restrictions and seasonal access against the route owner, land manager or official park page.
Permits, reservations and designated-camping rules are route-specific; check the relevant land manager, including the National Park Service where a US national park or recreation area is involved. Follow local yielding and speed rules, pack out waste and confirm e-bike access before choosing an electric bike. Remote e-bike trips also need a charging and mechanical plan, as IMBA guidance makes clear.
Best time to ride: match the season to the landscape
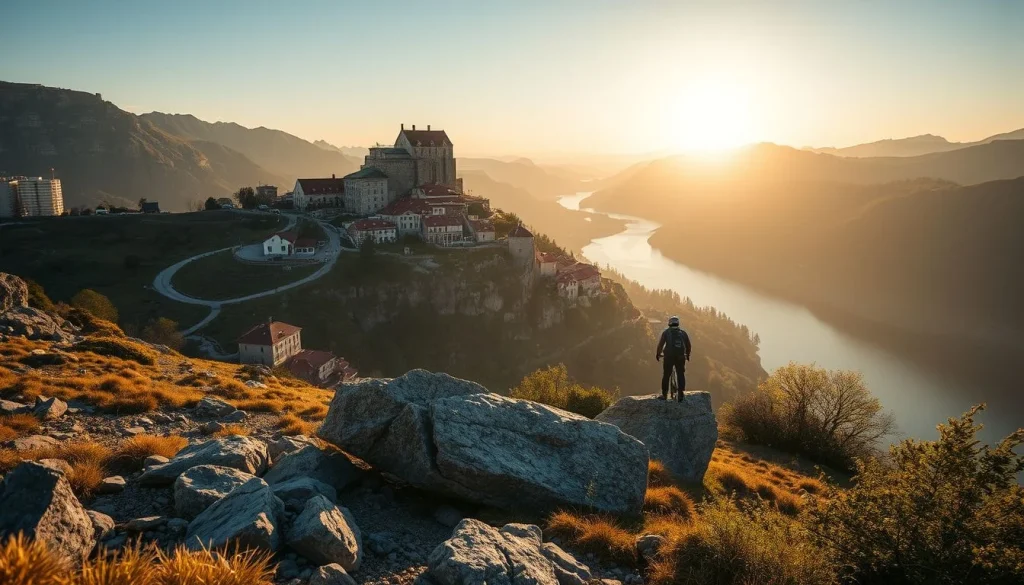
There is no universal bikepacking season. Choose dates for the landscape: spring and autumn usually suit hot regions, while high-alpine routes often need mid-summer, after snow has cleared. June, July, August and December may be popular planning periods, but popularity does not guarantee good riding conditions.
| Terrain or climate | Useful starting window | Check before departure |
|---|---|---|
| Hot, dry lowlands | Spring or autumn | Heat, water, wildfire, storms and shorter daylight |
| High-alpine routes | Mid-summer, once access is open | Snow, thunderstorms, closures and cold nights |
| Temperate forest and gravel | Late spring or early autumn | Mud, flooding, ticks, mosquitoes and busy campsites |
Shoulder seasons can make a first trip calmer and cooler, but they also bring variable surfaces, reduced daylight and a greater chance of closures. Summer may offer longer riding days yet amplify heat, fire risk, insects and crowding; winter or December riding can be practical in mild climates, but should not be assumed suitable elsewhere.
Check the forecast, route conditions, land-manager closures, fire or flood alerts and camping availability immediately before leaving. Also look for local festivals, public holidays and organised events that could fill accommodation or increase traffic. The National Park Service and other land managers are the authorities for access and camping changes; route libraries such as BIKEPACKING.com and Adventure Cycling are useful starting points, not substitutes for current notices.
In warm or forested areas, plan for ticks and mosquitoes: the CDC advises appropriate repellent, suitable permethrin-treated clothing where appropriate and tick checks after riding through brush. Seasonal conditions should shape your route length and resupply plan, not merely your clothing.
Getting there, sleeping and moving around with a bike
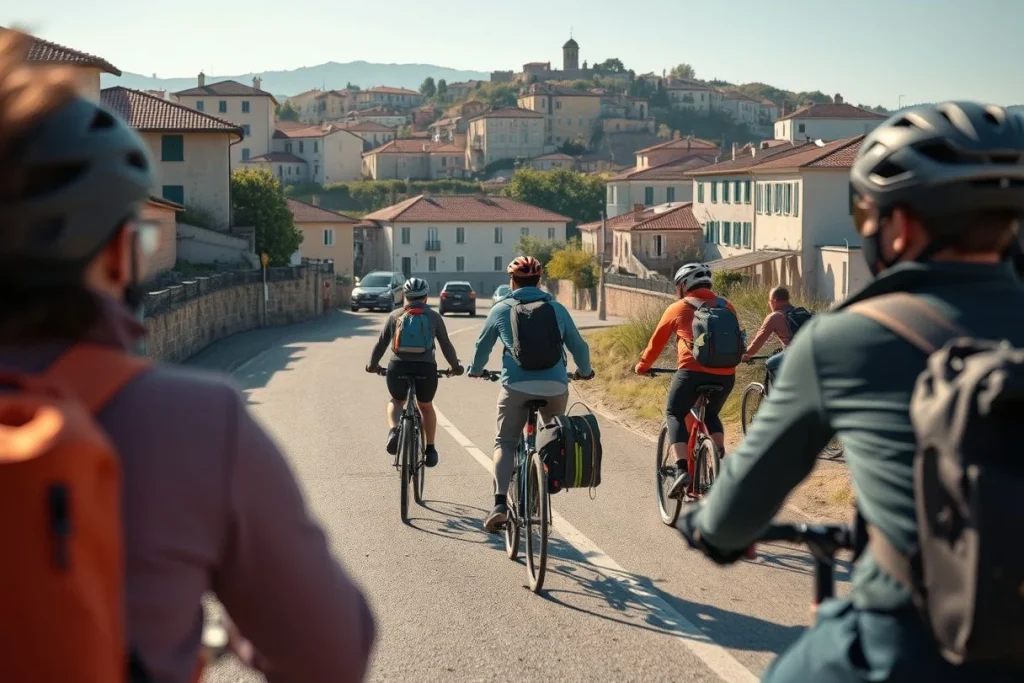
Getting there, sleeping and moving around with a bike
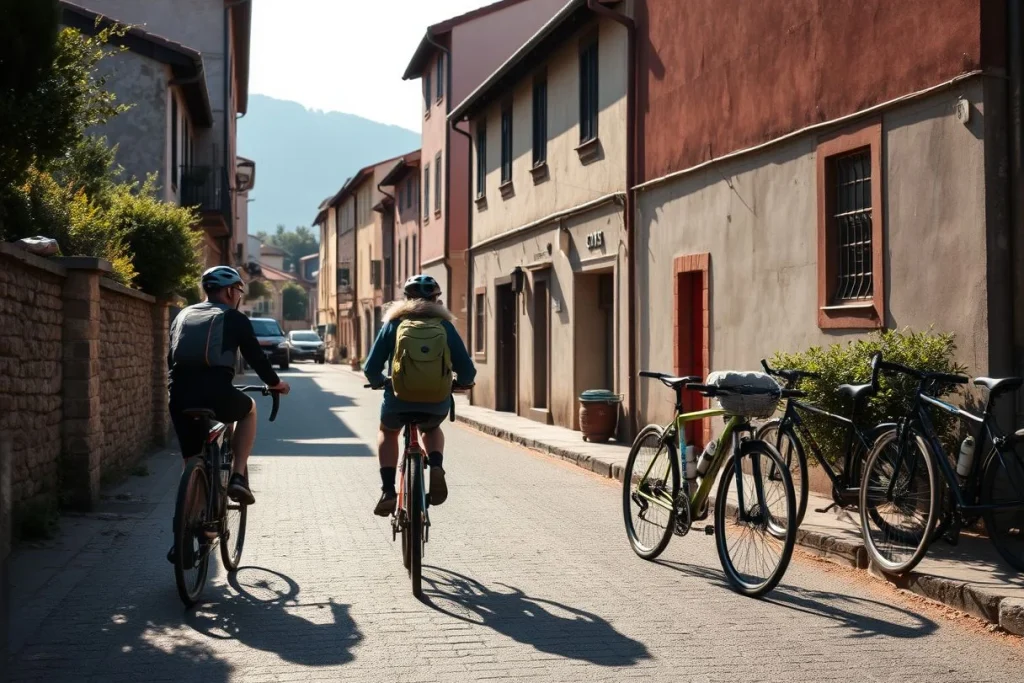
For a first trip, the simplest transport plan is often to ride from home or use a car shuttle to the route start. Trains can work where bikes are accepted, but you’ll need to check the operator’s reservation, carriage and packing rules before travelling. Hiring locally is another practical option. Confirm that the rental bike accepts your bags, suits the planned surface and can be collected and returned at workable times.
Flying with a bike takes more checking than booking a normal checked bag. Airline treatment varies by carrier, route, dimensions, weight and packing method; Delta Air Lines, for example, publishes its current requirements and fees in its baggage policy. Check your own airline’s official rules, charges and packing requirements before buying a ticket. You’ll also need time to box or bag the bike and reassemble it at the destination.
Sleep should fit the route rather than depend on finding a campsite. A legal campsite keeps the trip self-contained, while simple lodging reduces your sleeping equipment and makes wet-weather recovery easier. Supported accommodation may also include luggage handling or mechanical help. Camping permissions, reservations and seasonal access are route-specific, so check with the land manager or accommodation provider before departure.
Build the itinerary around reliable water, food and rest stops, with at least one bailout point. Use route pages from BIKEPACKING.com or Adventure Cycling as research starting points, then confirm current refill points and resupply with the route owner or local authorities. An e-bike adds another constraint: check trail access and charging locations, and carry a plan for a flat battery or mechanical fault before committing to remote riding.
Bikepacking trip cost: self-supported versus supported budgets
For a first bikepacking trip, separate the cost of riding from the cost of buying a bike and bags. The figures below are planning ranges, not quotes: regional prices vary, and supported operators price according to what they include.
| Estimated cost (USD, 2026) | Budget | Mid-range | Luxury |
|---|---|---|---|
| Self-supported trip, per person per day | US$25–60 | US$60–150 | Not sourced |
| Guided or supported trip, per person per day | Not sourced | US$150–500+ | US$500+ |
| Bike and starter equipment, one-time purchase | US$1,000–2,000 | US$2,000–4,000 | Above US$4,000 |
Basis and date: trip figures are per person, per day; equipment figures cover a bike and bikepacking kit, not travel. Self-supported ranges are sourced from Adventure Cycling Association research updated July 2026. Guided figures and equipment ranges are a 2026 research snapshot; verify current prices with the chosen operator or retailer.
Adventure Cycling’s US camping-and-grocery baseline is approximately US$35–50 per person per day, updated July 2026. That sits inside the budget self-supported range; accommodation instead of camping, restaurant meals and extra nights will push the total towards the mid-range.
Build a separate line for transport to the route, bike hire or rental deposits, permits, campsite or accommodation reservations, travel insurance, and any bike-box or luggage service. Guided prices may include meals, luggage transfers or mechanical support, but not always every transfer or personal expense. Check the operator’s inclusions before comparing like with like.
| Item | Budget | Mid-range | Luxury |
|---|---|---|---|
| Self-supported bikepacking | US$25–60 per person per day | US$60–150 per person per day | — |
| Guided or supported bikepacking | — | US$150–500+ per person per day | US$500+ per person per day |
| New bikepacking bike and starter kit | US$1,000–2,000 for a capable bike and basic setup | US$2,000–4,000 for a bike plus more complete equipment | Above US$4,000 for premium bike and equipment |
Estimated ranges based on the sources listed below. Prices change; check with providers before booking.
Your best first bikepacking trip
For most cyclists, the right first step is a nearby one-night, self-supported loop on mellow road or gravel. It keeps navigation, resupply and mechanical decisions manageable, while a short bailout route remains possible. Choose a supported overnighter instead if camping logistics, repairs, navigation or remote riding feel more intimidating than exciting; the extra assistance can let you concentrate on riding.
Shortlist one route now, then verify its current GPX, weather forecast, water points, land-manager rules and bailout options before you commit. Finally, ride the route—or a local equivalent—with the full loaded bike. That test will reveal more about your pacing, luggage and comfort than another week of shopping.
Frequently asked questions
Can I use a road bike for a first bikepacking trip?
Yes, provided the route is short and smooth enough for the bike. According to REI’s bikepacking guidance, a road bike can work when its tyre clearance, luggage attachments and route surface are compatible. Check that bags can be secured without rubbing cables or wheels, and avoid rough gravel or technical trails beyond the bike’s design.
How do I plan water, food and resupply between stops?
Start with a route page and GPX from BIKEPACKING.com or Adventure Cycling Association, then verify every refill and shop before departure. Confirm that water is potable, note which services may be seasonal, and carry enough food to cover an unexpected closure or delay. Remote routes require more conservative planning than routes near regular services.
Is solo bikepacking safe for a beginner?
A solo overnighter can be a reasonable first step if it stays close to home, uses a manageable route and includes a clear navigation, repair, resupply and emergency-communication plan. Absolute beginners should not start alone on remote terrain. Follow local traffic and trail rules, yield appropriately, control speed and pack out what you bring in, as advised by IMBA’s trail guidance.
Can I rent a suitable bike and bikepacking bags?
Availability depends on the destination and the shop or tour operator, so there is no universal rental standard to rely on. Ask specifically for a bike compatible with the planned surface and for bags that fit securely, then confirm what repair equipment is included. A simple setup can begin with a seatpack and handlebar roll; BIKEPACKING.com’s basics guide describes adding a framebag later if needed.
Can I take a bikepacking bike on a plane?
Usually this is possible only under the airline’s current bicycle or sports-equipment rules, with the bike packed as required. Policies vary by carrier, route, dimensions, weight and packing method; Delta’s baggage policy illustrates why you should check the operating airline directly. Confirm requirements, fees and weight limits before booking, and recheck them before departure.
Are e-bikes allowed on bikepacking routes?
Not automatically. E-bike access depends on the rules of the trail or land manager, so check the official route and land-manager pages before planning. IMBA’s eMTB information is a useful starting point, but local rules take priority. On remote routes, also plan for charging, battery range and mechanical problems; an e-bike can become difficult to recover if support is far away.