The same route can mean panniers, a tent and groceries—or a booked room, luggage transfer and a support vehicle waiting at the next stop. That choice comes before flights, bike hire or accommodation: self-contained touring demands more carrying and self-reliance, while a supported tour removes much of the daily logistics at a higher cost.
This guide to how to plan a cycling holiday is for cyclists preparing their first multi-day tour, including riders who are unsure how far they can comfortably ride on consecutive days. It helps you choose between camping, a self-guided hotel trip and a fully supported itinerary, then match that decision to route surfaces, elevation, recovery time, transport, equipment and budget. You’ll also find practical checks for travelling with a bicycle, booking bike spaces on trains, hiring a suitable bike and preparing for rain or mechanical trouble.
Quick answer: Choose your touring style first, then set realistic back-to-back daily distances and check the route’s surfaces, elevation, seasonal conditions and access. Confirm bike transport or hire, accommodation, insurance and any rail or airline requirements before booking; in many temperate regions, spring and early autumn can offer cooler riding and fewer crowds, subject to local conditions.
Overview: Start with the kind of cycling holiday you want
The most useful way to plan a first cycling holiday is to decide how much of the organisation you want to carry yourself. A self-contained camping tour, a self-guided trip between booked hotels and a fully supported guided tour may follow similar roads, but they create very different demands for luggage, navigation, mechanical skills, recovery time and contingency planning. The Adventure Cycling Association’s planning guidance treats this choice as the foundation of the trip.
Next, be honest about the riding you can repeat, not just the longest ride you have completed. A first multi-day bike tour should be built around realistic daily distances and several back-to-back rides at roughly that level before departure. Some first-tour guidance suggests 40–50 miles per day as a starting benchmark for road touring, but it is not a target that suits every rider; hills, unpaved surfaces, headwinds, traffic, luggage and long stops can make a shorter day harder.
Choose a route whose surfaces and elevation match your experience, then check where food, water, accommodation and mechanical help are available. Plan with digital route and elevation information, but keep a paper map or another offline backup: a phone battery, signal or GPX file should not be the only way to find the next overnight stop. Destination-specific checks still matter, including traffic conditions, seasonal access, weather, road restrictions and any mountain-pass closures.
Your bike decision follows the route and touring style. Taking your own bike preserves a familiar fit and setup, but adds packing, handling and carrier requirements. Hiring a bike avoids transporting it by air or rail, yet you must confirm frame size, gearing, tyre choice, condition and availability before committing to the itinerary. An e-bike can extend a rider’s range, but its battery and charging arrangements need separate checks with the hire company and transport providers.
Finally, choose between a continuous ride and a mixed cycling-and-rail plan. Rail can shorten an exposed, steep or weather-affected section, although bicycle capacity and reservation rules vary by service. Amtrak says full-size bikes are accepted on many routes but capacity is limited and advance booking may be required; Eurostar’s conditions set specific requirements for folding and non-folding bikes, so check the exact service before buying a ticket.
Build the budget around the decisions you have made rather than treating transport, accommodation and equipment as afterthoughts. Include a spare day or an easier stage where possible, and check travel insurance for medical emergencies, cancellation and bike loss or shipping. That small amount of flexibility is more valuable on a first tour than squeezing another day of distance into the itinerary.
Choose your touring style: camping, self-guided hotels or supported
Choose your touring style before booking anything
The first decision in planning a cycling holiday is not the destination but the level of logistics you want to carry. Self-contained camping, self-guided accommodation and fully supported touring change the training required, the amount of luggage, the navigation you handle and the overall budget. Adventure Cycling Association’s planning guidance treats these as distinct approaches rather than minor variations of the same trip.
| Touring style | Who it suits | Daily responsibilities | Luggage and navigation | Mechanical support | Flexibility | Estimated cost |
|---|---|---|---|---|---|---|
| Self-contained camping | Experienced, independent riders comfortable carrying equipment | Food, camping, route changes, repairs and resupply | Heaviest load; riders navigate their own route | Self-supported, including basic repairs | High, subject to campsites, weather and local camping rules | Lowest-cost format |
| Self-guided hotel or guesthouse tour | First-time tourers who want independence without camping | Follow the route, reach booked accommodation and manage day-to-day issues | Moderate luggage; luggage transfer may be available | Usually limited or arranged separately | Good, but bookings shape each stage | Variable; check the route provider, accommodation and transfers |
| Fully supported guided tour | Riders prioritising simple logistics and on-route assistance | Ride the planned stages and follow the guide or operator’s arrangements | Often includes luggage handling; navigation is shared with the guide | Support varies by operator and itinerary | Lowest; the group schedule and route are usually fixed | Several hundred US dollars per person per day for published premium examples |
Estimated cost basis: the camping figure is approximately US$35–$50 per person per day for camping and groceries in a US example from Adventure Cycling Association, referenced or accessed in 2026. Published premium supported-tour examples for 2024–2026 work out at several hundred US dollars per person per day; confirm the exact operator, inclusions and dates.
Camping is the most independent and generally the least expensive option, but it is also the heaviest. You carry shelter, cooking equipment, clothing and food, then make more decisions when a road, campsite or weather forecast changes. Wild camping may be restricted or illegal, so check the destination’s official rules before building an itinerary around it.
A self-guided hotel or guesthouse tour is often the strongest compromise for a first cycling tour. You can ride at your own pace and stop for cafés or shorter days, while booked rooms remove the need to find a campsite after a tiring stage. If luggage transfer is offered, check exactly what is moved, the daily bag limit and what you must still carry on the bike.
Supported operators such as Backroads and Trek Travel illustrate the fully arranged end of the market, but operator names alone do not define what is included. Confirm whether guides, a support vehicle, luggage transfer, meals, bike hire, mechanical help and e-bike charging are part of the package; these details vary by tour.
Decide whether to bring a bike or hire one
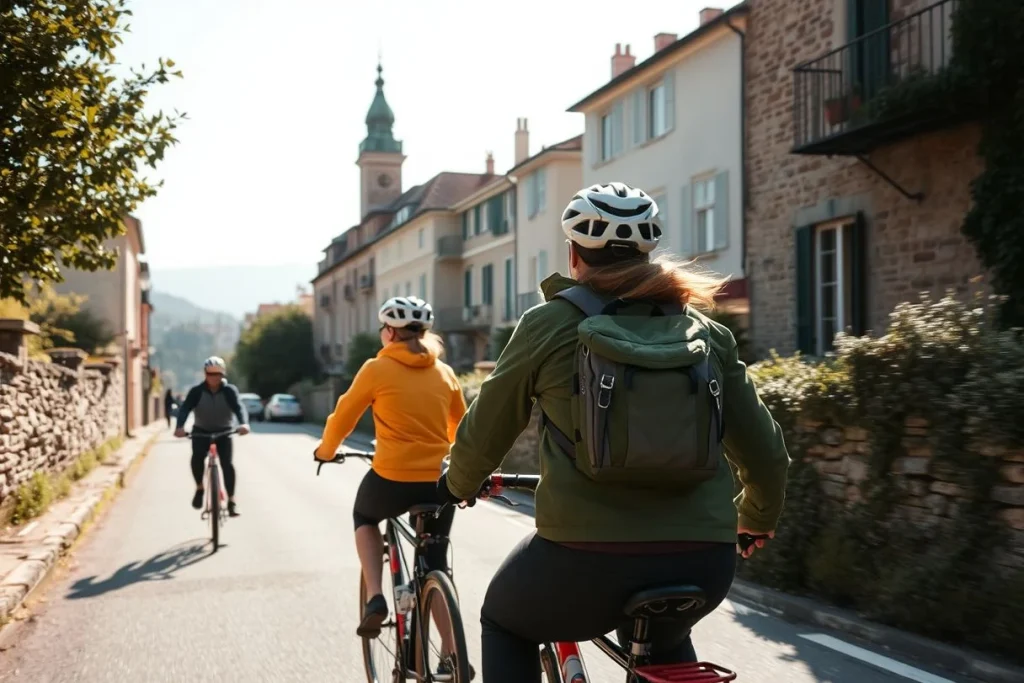
Your own bike preserves a familiar fit, gearing and contact points, which can matter over several consecutive days. The trade-off is packing it safely, handling it through stations or airports and checking carrier rules. A rental bike avoids much of that transport work, but inspect the frame fit, saddle, gearing, tyre type, brakes and adjustment process before accepting it; arrange a proper test ride rather than discovering a poor fit on stage one.
An e-bike can make hills or back-to-back riding more manageable, but battery transport and charging need separate checks. Do not assume an airline will carry an e-bike battery, and ask the rental provider or tour operator about charging, replacement batteries and the policy if the motor or battery fails.
Keep rail as a deliberate escape route
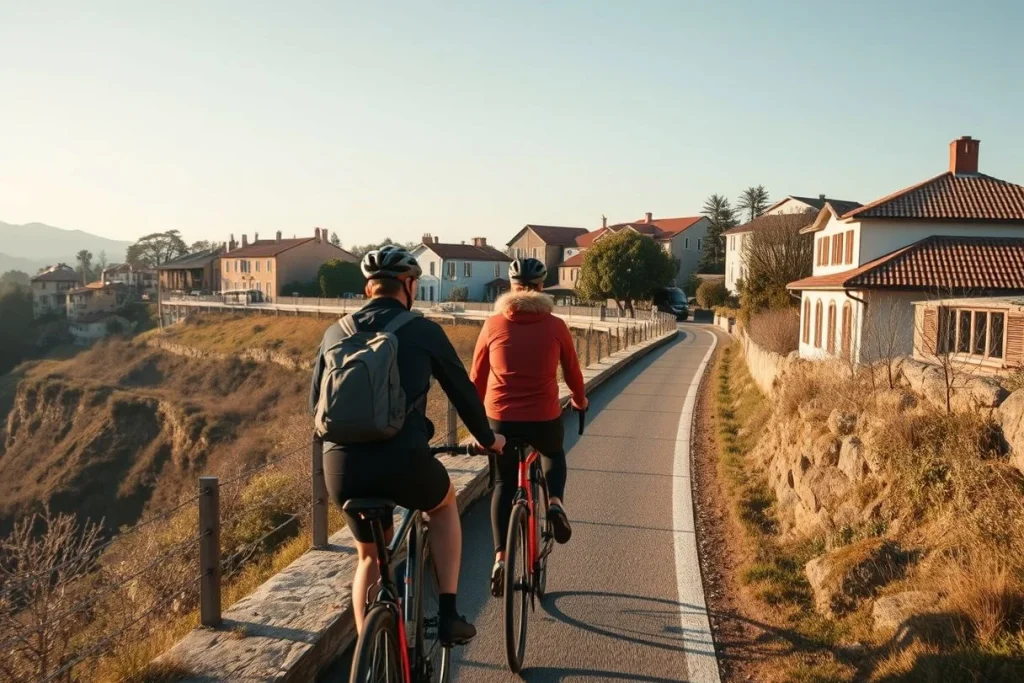
A mixed cycling-and-rail itinerary is sensible when it shortens an exposed, heavily trafficked or unusually difficult section, or gives you a practical bad-weather alternative. It only works if the bike can travel on the exact train you plan to take. European policies differ: folding bikes are often easier, while full-size bikes may need a reservation, disassembly or a protective bag; Eurostar’s current conditions of carriage specify requirements for both folding and non-folding bicycles.
For any format, plan daily stages around realistic back-to-back riding rather than a single impressive distance. A benchmark of roughly 40–50 miles per day is sometimes suggested for road touring, but it is not a rule. Combine GPX and elevation tools with paper mapping or another offline backup, and choose the format that leaves you able to enjoy the route rather than merely complete it.
Best time to go cycling: Match weather, crowds and route access
Dates should be chosen around the riding conditions your route can actually offer, not around a universal “best” month. In many temperate regions, spring and early autumn bring cooler temperatures, fewer visitors and, sometimes, lower accommodation prices than high summer, according to seasonal guidance from Sustrans. That can suit a first cycling holiday: quieter roads and less heat make it easier to manage steady days in the saddle.
Use the shoulder seasons carefully
June, July and August may provide longer daylight and more dependable warmth, but they can also mean busier roads, higher demand for rooms and uncomfortable heat. These are general patterns rather than destination rules. Before committing, check the route’s typical rainfall, heat, storms and daylight, then compare those conditions with your own tolerance and the daily distances you have planned.
Averages are useful for narrowing the dates, but a shoulder-season forecast should guide the final decision. Look at the forecast shortly before departure and keep accommodation with a sensible cancellation policy where possible. Confirm local festivals, road closures and operator schedules through official tourism or event websites; a town that is quiet in one week may be difficult to book during a major event the next.
Check access before choosing an alpine route
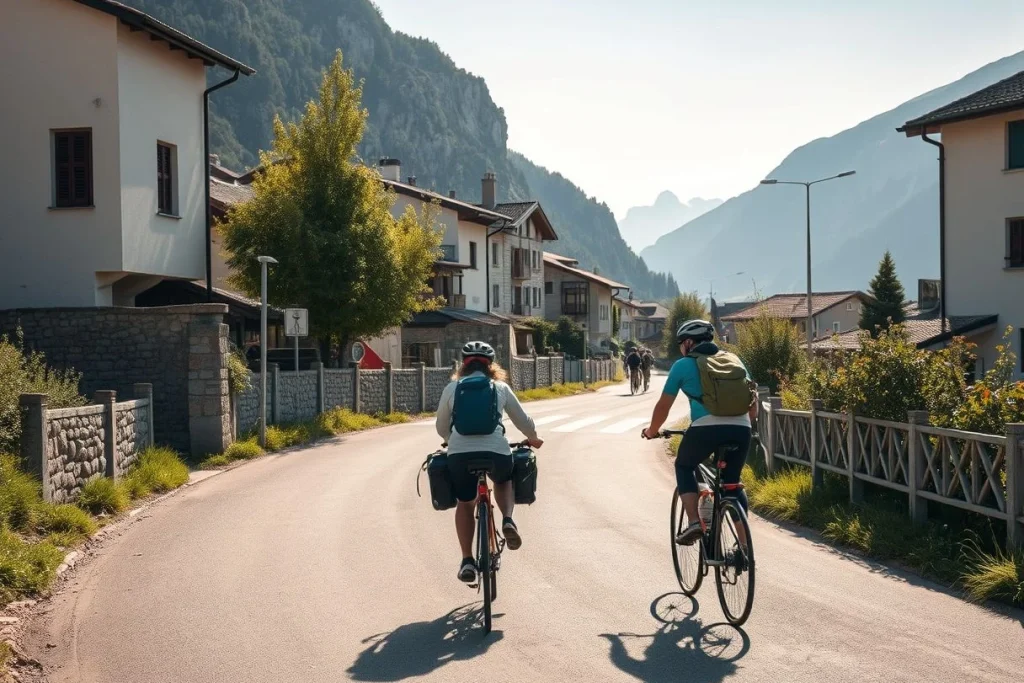
Mountain roads and passes deserve a separate check. Snow, maintenance or seasonal closures can make an apparently suitable itinerary impossible, even when valley weather looks mild. Verify opening dates and current restrictions with the relevant road authority or destination tourism office close to departure, rather than relying on a previous year’s dates.
December and other winter months can work for a carefully chosen lowland route, but only where surfaces, daylight, rainfall and storm risk match the rider’s experience. Shorter days leave less room for delays, so a winter plan should include conservative stages, reliable accommodation and a clear alternative if conditions deteriorate. For most first-time riders, spring or early autumn is the more forgiving starting point; the exact window still needs local verification before transport and rooms are booked.
How to get there with a bike: Air, rail or road
Once the riding season is chosen, treat the journey to the route as part of the cycling holiday rather than an afterthought. The simplest option is usually the one with the fewest handovers: a direct train or drive may be preferable to a cheaper flight that involves a long airport transfer, a bike box and a late arrival.
Flying with a bicycle
Air travel can make distant routes practical, but it adds packing and timing risk. Airlines may accept bicycles as checked sporting equipment, yet can require a hard case or specified bag, release forms, advance declaration and an additional fee. Delta Air Lines sets out carrier-specific sports-equipment requirements; use its guidance as an example, then check the exact airline, route and travel date before buying the ticket.
Allow time at both ends for the boxed bike, and book the first night close to the arrival point if a delay would otherwise leave you assembling a bicycle after dark. Do not assume an e-bike can fly with its battery: lithium-battery rules vary, and the airline must confirm whether the battery is accepted. If it is not, arrange an approved alternative before committing to the trip.
Taking a bike by train
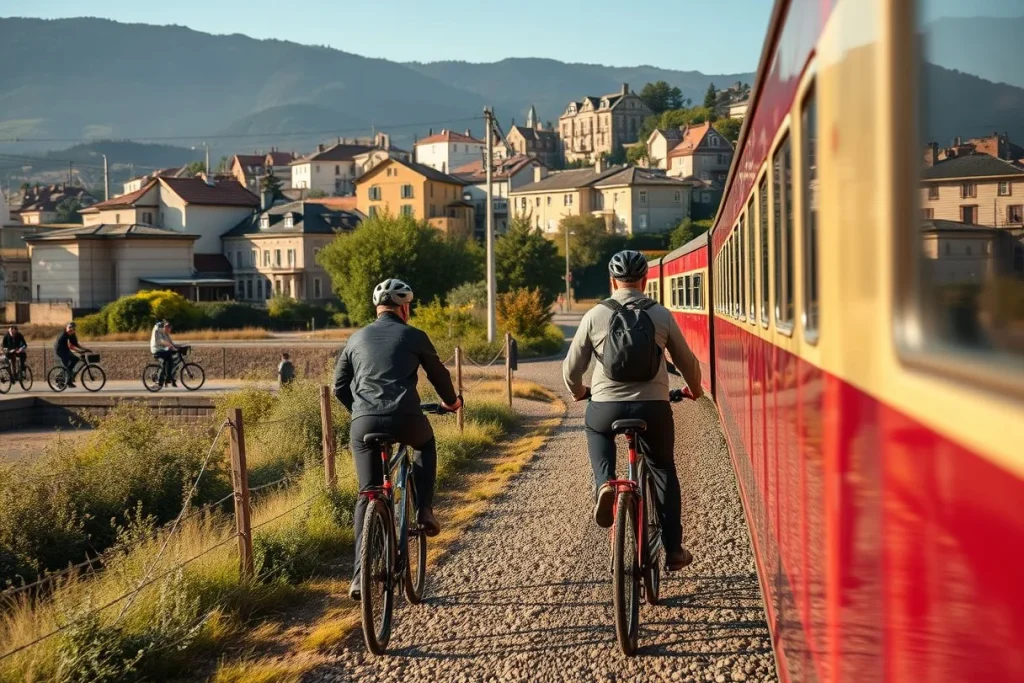
Rail can be gentler than flying because there is no airport check-in, but bicycle capacity is often limited. Amtrak accepts full-size bicycles on many routes, with advance reservation potentially required, so check the bike space before reserving your own seat. A train journey is only useful if the bike reservation, connection time and platform changes work together.
European rules differ by operator and route. Folding bicycles are often the easiest to carry, while full-size bikes may need a reservation, partial disassembly or a protective bag. SNCF Connect explains Eurostar luggage services, and Eurostar’s conditions of carriage specify requirements for folding and non-folding bicycles; check the current conditions for every train in the itinerary rather than relying on a general rail policy.
Driving or shipping your bike
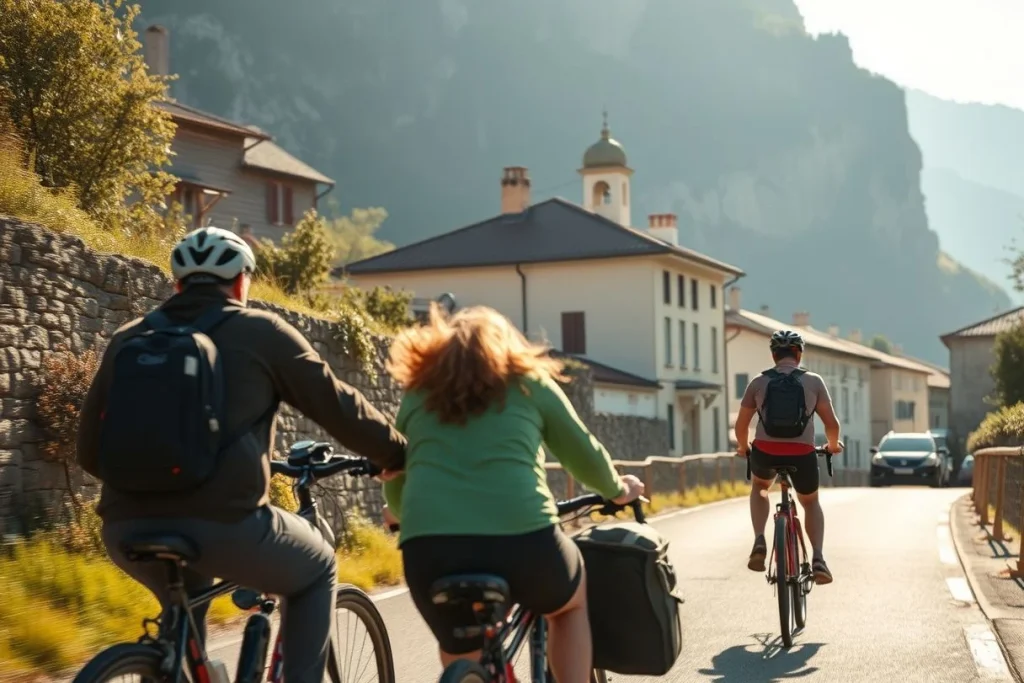
Driving suits a circular route, a group sharing a vehicle or a touring bike that is awkward to box. It also lets you carry tools and luggage, but parking and the return journey need planning. Shipping the bicycle separately can reduce airport handling, particularly for a one-way tour, but confirm collection and delivery dates, packaging requirements, insurance and what happens if the bike is delayed.
Use this arrival checklist
- Count airport, station and vehicle transfers, including whether you can physically manage the bike box between them.
- Check where the box or bag can be stored after arrival; a small hotel room or one-way trip may make return packaging difficult.
- Choose an arrival time that leaves daylight for assembly and a short test ride.
- Keep a buffer before the first booked riding day, especially when flying or changing trains.
- Carry confirmation of bike reservations and the relevant airline or rail policy offline.
For route-planning backup, combine a digital GPX file and elevation tool with paper mapping or another offline source, as Adventure Cycling Association recommends in its route-planning guidance.
Getting around: Ride, rent, shuttle or use rail
Choose how much of the route you will ride
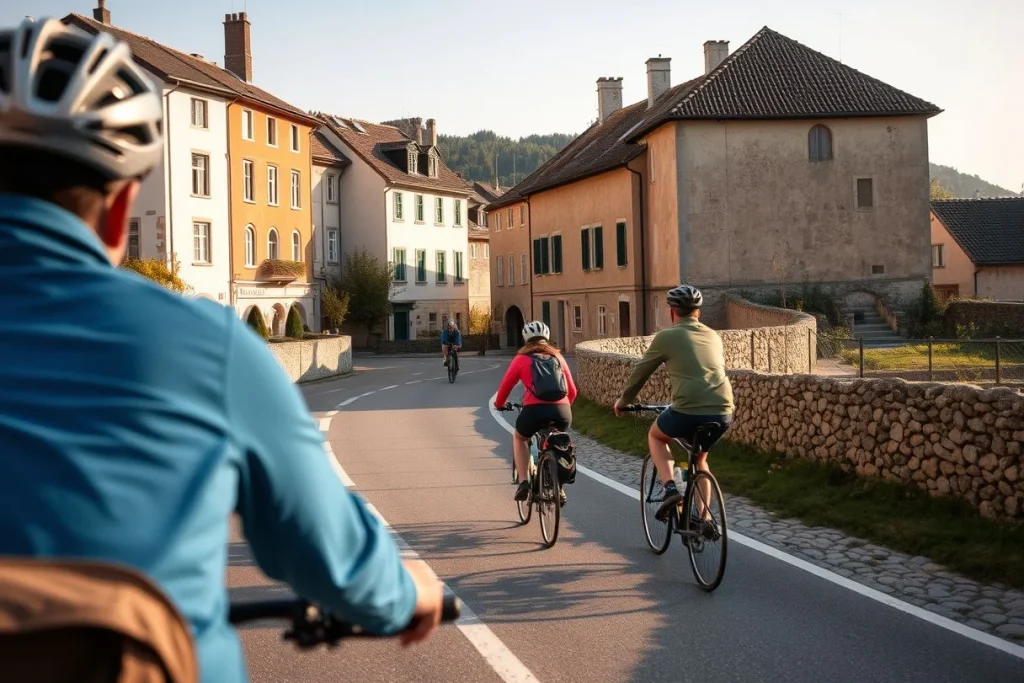
Riding every kilometre gives a continuous tour and avoids the logistics of moving a bike, but it leaves less flexibility when weather, traffic or fatigue changes the plan. A mixed cycling-and-rail itinerary can remove an exposed, difficult or uninteresting section; use it only after confirming that the train accepts your bicycle and that a reservation is available. Amtrak says full-size bikes are accepted on many routes, but capacity is limited and advance booking may be required. In Europe, policies vary: a full-size bike may need a reservation, disassembly or a protective bag, while a folding bike is often easier to carry.
A support vehicle or luggage-transfer service reduces what you carry and can provide a practical fallback after a mechanical problem. The trade-off is cost and dependence on a fixed meeting point or operating schedule. If you are arranging a taxi or shuttle yourself, confirm that it has enough space for the assembled or boxed bike, and agree in advance whether extra wheels, panniers and an e-bike are accepted.
Plan the route in layers
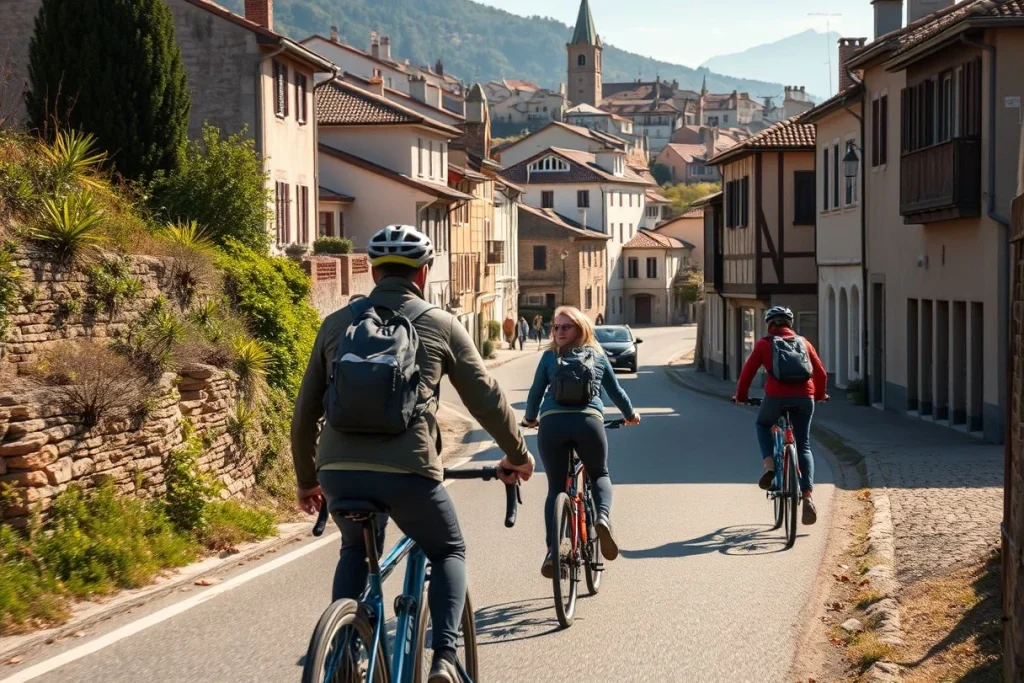
Start with a short list of possible stages, then check each one in RideWithGPS, Komoot or Strava for the mapped line, elevation profile and surface information. Do not treat a route label as proof that every kilometre suits your bike: distinguish paved road, cycle path, compact gravel and rough or technical surface, and match those conditions to your tyres and handling experience.
Next, verify the details that digital planning can miss. Check traffic levels, road restrictions, closures, gradients, reliable water points, food stops and bike shops with local authorities, tourist offices or a reputable local operator. Mountain roads and seasonal paths need particular care; access can change, and an apparently short alternative may add steep climbing or place you on a busy road.
Adventure Cycling Association recommends combining digital GPX and elevation tools with paper mapping or another offline source. Download the route before leaving reception, save key junctions and accommodation details, and keep a way to navigate if your phone fails. A small pump, spare tubes, tyre levers, multi-tool and chain quick-link cover common basic repairs; practise a puncture repair before departure rather than making the first roadside attempt on tour.
Use rail or hire locally when it simplifies the trip
Bike hire can be the cleaner choice when airline handling, packing and transfers would dominate the journey. Check frame size, gearing, saddle position, pedals, lights, rack or pannier compatibility and the bike’s condition before accepting it. For an e-bike, confirm battery arrangements with the rental company and every transport provider; never assume an airline or train will carry the battery under ordinary bike rules.
If you are taking a regional train, check the operator’s official conditions for the exact service and travel date before booking accommodation around it. Eurostar’s current conditions, for example, specify requirements for folding and non-folding bicycles; the same principle applies to any connecting service.
Build a first cycling holiday itinerary that leaves room for recovery
Once transport is confirmed, design the route around the riding you can repeat, not the longest distance you can manage once. A first multi-day tour should be tested against back-to-back days at the intended mileage; a strong single training ride does not prove that your legs, hands and saddle position will cope on day three. Adventure Cycling Association recommends treating roughly 40–50 miles per day as a road-touring benchmark, not a target for every rider. Adventure Cycling World makes the same useful distinction: your route must reflect your own preparation.
Plan the route in six decisions
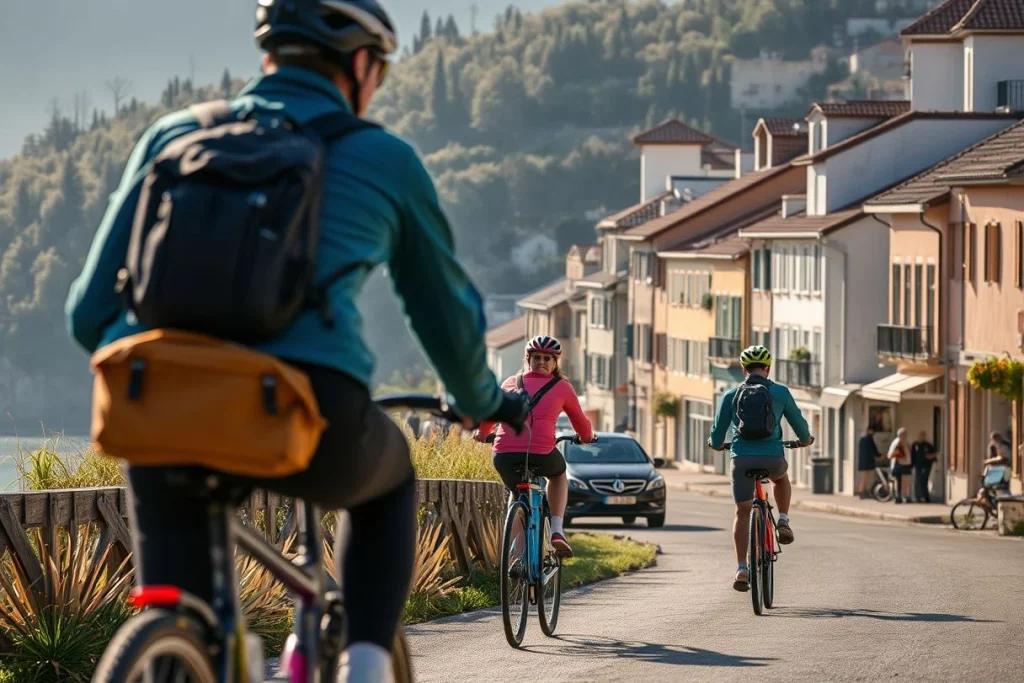
- Choose the start and finish. A compact loop simplifies transport and gives you a familiar arrival point. A point-to-point route offers more geographical variety but requires a plan for returning to the start, while an out-and-back route makes logistics straightforward and lets you turn around if weather or fatigue changes the day.
- Set a conservative daily distance. Begin below your best-case capacity, especially with camping equipment, a loaded touring bike, gravel, heat or inexperienced companions. Reduce the target further when the route includes sustained climbing or several consecutive riding days.
- Inspect climbing and surfaces. Use a route planner such as Adventure Cycling Association’s route-planning guidance to examine elevation profiles and road or trail surfaces. Check every segment rather than relying on a headline distance: a short, steep day can be harder than a longer, flatter one, and unsealed sections may slow a road bike.
- Place services before booking rooms. Mark dependable food shops, cafés, water points and repair options, then note stretches where resupply is limited. A rest stop should be a practical part of the route, not an optimistic assumption that a shop will be open.
- Add an escape option. Identify a railway station, bus connection, taxi provider able to carry bikes, or shorter parallel road for each difficult section. Confirm the relevant bike rules in advance; a theoretical train escape is not useful if the service has no bicycle capacity.
- Leave recovery space. Add a rest day or weather day to a longer trip, and avoid booking every evening so tightly that one puncture or storm creates a chain of missed reservations.
Build the plan in a digital tool such as RideWithGPS, Komoot or Strava, but download the route and carry a paper map or other backup. Adventure Cycling Association recommends combining digital route information with offline alternatives. Save the elevation profile as well as the track, since a phone may show where you are without making the day’s effort obvious.
A planning grid for your first tour
Complete this table before paying for accommodation. Leave a field blank rather than guessing; verify every distance, climbing figure and surface description from the route file and local road information.
| Day | Distance | Climbing | Surface | Food and water stop | Accommodation | Escape option | Booking |
|---|---|---|---|---|---|---|---|
| 1 | Verified route figure | Verified elevation | Road, gravel or trail | Named stop and backup | Confirmed location | Station, bus or shorter route | Pending or confirmed |
| 2 | Verified route figure | Verified elevation | Road, gravel or trail | Named stop and backup | Confirmed location | Station, bus or shorter route | Pending or confirmed |
| Rest or weather day | Optional riding | — | — | Nearby resupply | Flexible booking | Return or shorten | Check policy |
For a first cycling holiday, the best itinerary is usually the one with modest daily targets, clear resupply points and enough flexibility to stop early. That leaves attention for handling the loaded bike, navigating unfamiliar roads and enjoying the places between stages, rather than turning every afternoon into a recovery problem.
Where to stay on a cycling tour: Campsites, inns or bike-friendly hotels
Campers carrying their own kit
Camping suits riders who value independence and low daily costs, but the accommodation choice changes the ride: a tent, sleeping system, cooking equipment and food add weight, and a remote pitch can leave little scope for resupply or mechanical help. Confirm that camping is permitted before setting out; wild camping may be restricted or illegal, so check the destination’s official rules rather than assuming an empty field is available.
Self-guided riders using guesthouses or hotels
Booked accommodation is often the most manageable format for a first cycling holiday. Choose stage towns with a grocery shop, café or restaurant, drinking water, a bike shop or workshop, and a public-transport option if weather or fatigue forces a change of plan. A pleasant but isolated overnight stop can create problems the following morning, particularly if breakfast, dinner or a replacement tube requires another ride.
Ask each property where the bicycle can be stored overnight: a locked indoor room is preferable to an exposed rack. Also confirm luggage-transfer acceptance, late-arrival arrangements, access to laundry, and whether e-bike charging is allowed and where it can take place. Route-planning guidance from Adventure Cycling Association supports checking practical services as part of the planning process, not after the route is fixed.
Guests on supported tours
Supported-tour operators normally preselect the properties and coordinate luggage, route support and other logistics. That reduces the need to compare every stage town, but read the inclusions carefully: a boutique hotel may still have no secure bike room, laundry service or nearby meal option, and an e-bike charging policy may differ between properties. Ask the operator what happens if you arrive late, need a rest day or cannot ride a planned stage.
Booking checklist
- Confirm secure indoor bicycle storage, not simply a public rack.
- Check that the property accepts transferred bags and note its size or weight limits.
- Ask about late arrival, early breakfast, laundry and nearby meals.
- For e-bikes, confirm charging access and any battery-storage rules.
- Read weather and cancellation terms before paying, especially on exposed routes.
- Check the nearest repair service, resupply point and public-transport connection.
Travel costs: What a first cycling holiday can cost
The cost of a cycling holiday changes most with your touring style. Camping and carrying your own food keeps daily spending down, while a supported tour bundles guides, luggage transfer, accommodation and often meals or mechanical assistance into a much higher package price. Build your budget around the route and inclusions rather than a single headline figure.
Estimated daily costs
| Touring style | Budget | Mid-range | Luxury |
|---|---|---|---|
| Self-supported camping and groceries | US$35–$50 per person per day | — | — |
| Supported or luxury guided tour | — | Several hundred US dollars per person per day | Several hundred US dollars per person per day |
Basis and date: the camping figure is a US example from Adventure Cycling Association content published earlier and referenced in 2026. The supported-tour indication reflects published premium-tour materials from 2024–2026; check the exact operator, itinerary, dates and inclusions before relying on it.
These are daily trip costs, not a complete holiday total. Price separately for transport to the start and from the finish, bike hire or bike-box handling, airline and train fees, accommodation, campsite charges, food, repairs, transfers, luggage service and travel insurance. A self-guided hotel tour may look cheaper than a supported itinerary at first, but luggage transfers, restaurant meals and a taxi after a mechanical problem can narrow the difference.
Build a three-column worksheet
For a budget plan, enter camping, groceries and only essential transport. A mid-range plan should allow for guesthouses or hotels, restaurant meals, bike hire or checked-bike costs, and a repair reserve. A premium plan should include the quoted supported-tour package, then add flights or rail, personal drinks, optional activities and any services excluded from the operator’s price.
Get fresh quotes for every destination-specific item: accommodation, bike rental, luggage transfer, transport and insurance. Confirm what a guided package covers, particularly transfers, meals, bike damage, emergency support and cancellation. Adventure Cycling Association recommends checking insurance for medical emergencies, cancellation and bike loss or shipping; terms vary by policy, so read the wording before paying.
| Item | Budget | Mid-range | Luxury |
|---|---|---|---|
| Self-supported camping and groceries | US$35–$50 per day | — | — |
| Supported or luxury guided cycling tour | — | Several hundred US dollars per person per day | Several hundred US dollars per person per day |
Estimated ranges based on the sources listed below. Prices change; check with providers before booking.
Travel tips for a safer, easier first bike tour
Training
- Train for consecutive days, not one heroic ride. Build progressively longer rides into your preparation, then practise riding on back-to-back days at the intended distance. A benchmark of around 40–50 miles per day is sometimes used for first road tours, but your route’s surfaces, elevation, luggage and weather matter more than the number; Adventure Cycling World presents this as a starting guide, not a rule.
- Practise with the load you will carry. Ride with loaded panniers or your touring setup before departure, including on climbs and rougher surfaces. This reveals saddle discomfort, handling problems and missing capacity while you still have time to adjust them.
Packing and repairs
- Keep the essential kit accessible. Pack a correctly fitted helmet, front and rear lights, visible clothing, weather layers, water capacity, phone, offline maps, chargers, identification, medication and a small first-aid kit. Divide items between bags so one lost or wet pannier does not remove every spare layer or document.
- Carry the tools for a basic roadside repair. Adventure Cycling Association’s planning guide lists a pump, spare tubes, tyre levers, a multi-tool and a chain quick-link among the useful essentials. Practise fixing a puncture before leaving; a repair kit is little help if the first tube change happens in the rain.
Navigation and route safety
- Use digital navigation with a fallback. Download the route and elevation data for offline use, carry a charged phone or navigation device, and keep paper mapping or another backup. Adventure Cycling Association recommends combining digital GPX and elevation tools with backup route information rather than relying on a single device.
- Choose quieter roads over a shorter route. Check road surfaces, traffic, restrictions and difficult junctions before you commit. Use lights in low light or poor weather, wear visible clothing and stop somewhere safe before checking the map; do not make route decisions while moving through traffic.
Weather and mechanical problems
- Build in a bail-out plan. Identify places where you can shorten the day, use rail or another permitted transfer, or reach accommodation without completing the planned route. If heavy rain, extreme heat, storms or poor daylight make riding unsafe, pause in a safe place and contact your accommodation, tour operator or emergency support rather than pressing on.
- Stop when the bike is not safe. A slipping brake, damaged tyre, serious drivetrain fault or unfamiliar mechanical problem is a reason to end the riding day. A self-guided rider should know the nearest repair option and transport alternative; a supported rider should use the operator’s assistance rather than attempting a risky roadside fix.
Insurance and the final 48 hours
- Read the cycling exclusions. Confirm that your policy covers medical emergencies, cancellation and bike loss or shipping, as Adventure Cycling Association advises. Check the wording separately for e-bikes, racing, unsupported riding, personal equipment and pre-existing conditions; do not assume standard travel cover applies.
- Run one final check 48 hours before departure. Review the forecast and daylight, route closures, traffic restrictions, accommodation and bike reservations. Download GPX files, charge devices and lights, save emergency contacts, confirm your transport provider’s bicycle and battery rules, and check that any required rail reservation or protective bag is still in place.
For a bike-specific contingency, save the number for your accommodation and operator offline. If you are travelling with an e-bike, verify the current battery policy directly with the airline or rail provider: never assume a lithium battery will be accepted, even when the bicycle itself is permitted.
Conclusion: Make your first tour deliberately manageable
For most first-time cyclists, a short self-guided hotel tour or supported beginner tour is the soundest starting point: choose quiet, well-serviced roads, conservative daily distances and an itinerary with a rest day or weather option. You will ride more confidently when accommodation, luggage and route support do not compete with the learning curve.
Camping and self-contained touring remain excellent choices for experienced outdoor travellers who are comfortable carrying equipment, managing food and handling repairs. Before committing, choose one route and confirm its surfaces, elevation and resupply points. Test yourself with a back-to-back weekend at the intended distance, then verify bike transport and reservations before booking any non-refundable travel.
Frequently asked questions
How fit do I need to be for my first cycling tour?
You do not need advanced fitness, but you should be able to ride your planned distance on back-to-back days. Adventure Cycling World uses approximately 40–50 miles per day as a possible starting benchmark for road touring, not a rule; reduce it for hills, rough surfaces, heat, luggage or limited experience. Test your intended distance before booking and leave room to shorten difficult days.
Should I take rest days on a multi-day cycling holiday?
A rest day is useful if you are unsure about repeated riding, carrying luggage or managing elevation, but it is not automatically necessary for every itinerary. The important test is whether you can comfortably ride your intended daily distance on consecutive days, as Adventure Cycling Association recommends in its touring guidance. Build recovery time into the plan if your training rides do not yet match that pattern.
Can I take an e-bike on a cycling holiday?
Yes, but transport is more complicated than with a conventional bicycle. Before flying, check the airline’s current rules directly: Delta Air Lines, for example, states that bicycles may require specific packaging, forms and additional fees, while battery acceptance must be confirmed under the carrier’s lithium-battery rules. For a simpler first trip, compare local bike hire with transporting your own e-bike, checking fit, gearing, condition and availability before booking.
What should I do if my bike breaks during the trip?
Carry a pump, spare tubes, tyre levers, a multi-tool and a chain quick-link, and learn to repair a puncture before departure; these are among the basic items recommended by Adventure Cycling Association. If you are on a supported tour, confirm in advance what route support includes rather than assuming every repair or recovery is covered. A self-guided rider should also carry digital route information and a paper map or other backup.
Is wild camping allowed on a cycling tour?
Do not assume it is legal. Wild camping rules are destination-specific and may restrict or prohibit overnight camping, so check the relevant official land-management or tourism authority before planning a self-contained route. If permission is unclear, use established campsites and confirm that your daily route has practical places to resupply and stop.
How far in advance should I book a cycling holiday?
There is no single booking window that suits every route, but book transport and accommodation only after checking bike capacity and route access. Amtrak accepts full-size bicycles on many routes, yet capacity is limited and advance reservation may be required; European rail operators can also require reservations, disassembly or a protective bag. Check the exact airline or railway, travel date and bike conditions first, then reserve accommodation and any supported-tour places around those confirmed arrangements.