A planned daylight hike can still require a headlamp, emergency shelter and extra food if the return takes longer than expected. For a two- to six-hour route, the practical baseline is a daypack with water, food, layered weather protection, navigation with a backup, first aid, sun protection and basic repair supplies.
This hiking gear checklist is for hikers choosing between a compact day-hike setup and a one- to three-night backpacking kit. It separates the essentials from useful extras, then shows how forecast, water availability, trail remoteness, permits, camping rules and seasonal hazards change what belongs in your pack. The route’s park or land-manager page remains the final authority, especially for current alerts, closures, river crossings, snow, permits and local equipment requirements.
Quick answer: For a 2–6-hour day hike, pack water and food, layered weather protection, navigation with a backup, illumination, first aid, sun protection, repair supplies and emergency shelter in a suitable daypack. For a 1–3-night backpacking trip, add a shelter, temperature-appropriate sleep system, larger pack, cooking system where permitted, extra food and any required permits or reservations; adapt both setups to current weather, water availability, remoteness and land-manager guidance.
The two setups at a glance: day hike or backpacking trip?
The useful dividing line is not simply “day” versus “overnight”. Choose the setup according to the route’s exposure, forecast, water availability, remoteness and the equipment you must carry. A remote four-hour hike can demand more contingency gear than a sheltered overnight walk with easy access to water.
| Estimated setup | Typical duration | Pack range | Shelter and sleep system | Cooking and water | When it fits |
|---|---|---|---|---|---|
| Day hike | 2–6 hours | Approximately 20–30 L | Emergency shelter only | Water capacity and food; treatment if reliable sources are expected | Trails completed in daylight, with no camping equipment |
| Backpacking trip | 1–3 nights | Approximately 40–70 L | Shelter, sleeping bag or quilt, and sleeping pad | Food plus stove and fuel where permitted and needed | Overnight routes where you carry your camp and may be far from assistance |
Pack ranges are approximate guidance from REI Co-op; season, equipment bulk and the amount of food and water can change the required size.
For a day hike, start with the Ten Essentials rather than a long equipment list. That means navigation, sun protection, insulation, illumination, first aid, fire-starting capability where appropriate, repair supplies, extra food, water and emergency shelter. REI Co-op’s checklist for hikes longer than two hours also identifies water, food, layered clothing, navigation, illumination and first aid as a practical baseline; its day-hiking checklist is a useful cross-check.
Pack a paper map and compass or a charged device with an offline map, but keep a navigation backup and do not assume that a phone will connect. The U.S. National Park Service advises accounting for limited cell service and leaving an itinerary with someone when appropriate. A headlamp belongs in the pack even for a planned daylight return, while an emergency bivy, space blanket or suitable tarp gives you a basic fallback if injury, weather or route-finding causes a delay.
Water needs cannot be reduced to one universal quantity. Heat, exertion, route length and trustworthy refill points all matter, so check the specific trail guidance and carry enough capacity for the gaps between sources. On hot desert routes, including trails in Grand Canyon National Park, the National Park Service warns of serious summer heat, limited water and the possibility of delayed assistance; current park advice should determine your plan rather than a generic day-hike formula.
For one to three nights, the backpack, shelter and sleep system form the “Big Three”. They usually determine both pack volume and much of the base weight, so select them together: a sleeping bag or quilt suited to the expected low temperature, a pad, and shelter appropriate to the forecast and campsite rules. REI Co-op’s backpacking checklist provides a useful framework, but the route’s season and regulations still decide what is adequate.
Then add food for every planned day plus extra food for a delay, water treatment when sources are expected, and a cooking system only when it is allowed and necessary. Match the first-aid kit to the group and trip risk, with supplies for blisters, cuts and sprains, and carry repair materials for footwear, clothing, shelter and pack. Before an overnight departure, check the relevant park or land-manager website for permits, backcountry reservations, campsite bookings, fire rules and any required waste-management equipment; the National Park Service notes that these requirements vary by area.
Finally, treat route information as part of the checklist. Review the land manager’s current alerts, closures, trail conditions, river crossings, snow and storm guidance immediately before departure. If the forecast, water situation or remoteness makes the planned kit inadequate, shorten the route, change the objective or postpone the hike rather than relying on a larger pack to solve every problem.
Packing list by category: clothing, gear, documents and tech
Clothing
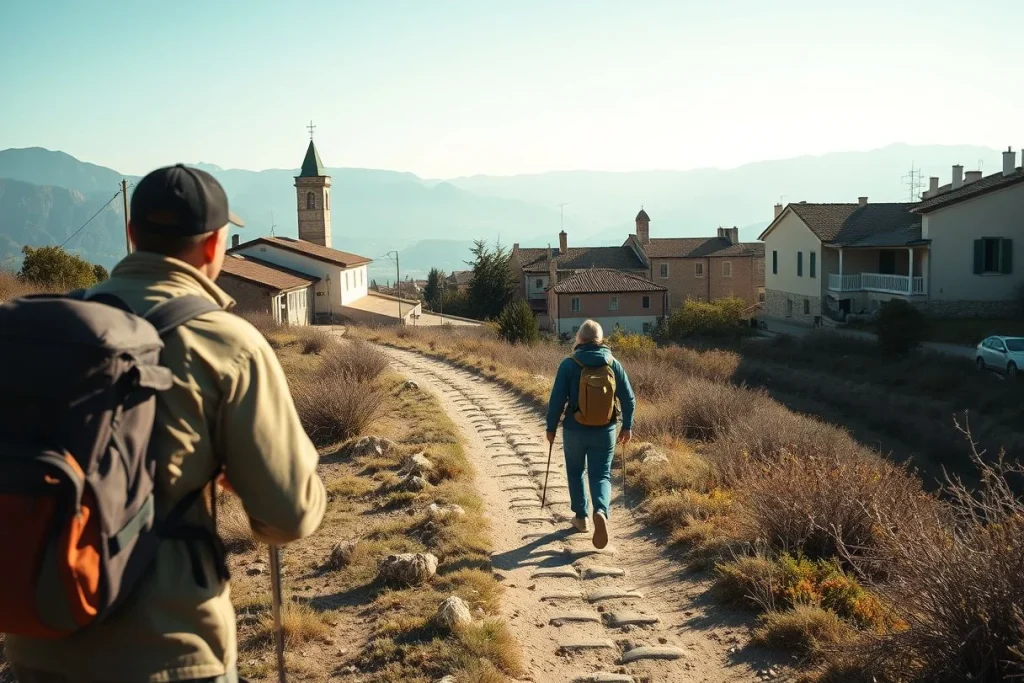
Build your hiking clothing layers around the forecast, expected low temperature, exposure and any snow—not around the trip label alone. A two-hour exposed ridge in changing alpine weather may need more protection than a longer forest walk in stable conditions.
| Day hike | 1–3 nights |
|---|---|
| Moisture-managing base layer; hiking trousers or shorts; insulating mid-layer; waterproof shell; spare socks; hat; suitable footwear. | All day-hike layers, plus dry sleep clothing, extra socks and insulation suited to the expected overnight low. Add rain trousers or other protection if the forecast and terrain warrant it. |
Choose footwear for the surface and load rather than appearance. Waterproof footwear, gaiters and traction equipment may be necessary for snow and ice; the U.S. National Park Service notes that winter routes can also require specialist equipment and avalanche information. Check the relevant park or land-manager guidance before treating a normal three-season kit as adequate.
Gear
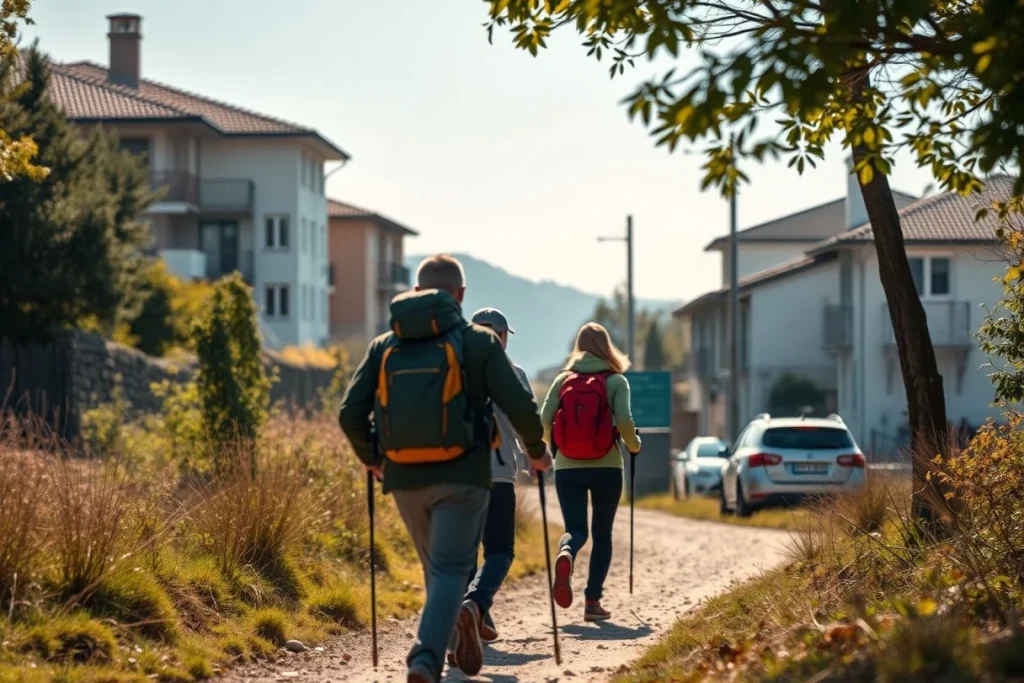
- Water and treatment: Carry enough capacity for the route and conditions. If reliable water sources are expected, add a filter or chemical treatment, then verify each source before setting out; heat, exertion, distance and water availability make a single universal quantity unsafe.
- Food: Pack food for the planned outing plus extra. An additional meal is a sensible margin when delays, route-finding problems or difficult crossings are plausible.
- Navigation: Carry route information and a paper map with compass, or a charged device with an offline map plus a backup. An offline map does not create mobile coverage.
- Light and emergencies: Pack a headlamp even for a daylight return, together with an emergency bivy, space blanket or tarp appropriate to the route.
- First aid and repairs: Match the first-aid kit to the group and trip risk, including supplies for blisters, cuts and sprains. Add repair tape, cord and a multi-tool or knife, where permitted. The REI backpacking checklist and National Park Service guidance use this kind of risk-matched approach rather than a fixed universal kit.
- Sun and weather protection: Carry sun protection, an insulating layer and a waterproof shell. Sunglasses, sunscreen and a hat earn their space on exposed routes, including cool days.
- Trekking poles: Add them if they help with steep descents, unstable ground, a heavy pack or river crossings. They are useful equipment, not a requirement for every hiker.
For a day hike of more than two hours, REI’s baseline includes water, food, layered clothing, navigation, illumination and first aid. A pack of approximately 20–30 litres suits many day hikes; select the capacity by the load, not by the duration alone.
For an overnight trip, add the three items that define the backpacking load: a shelter, a sleeping bag or quilt suited to the expected temperature, and a sleeping pad. These are the “Big Three” priorities for reducing base weight. A pack of approximately 40–70 litres is a common range for overnight or backpacking trips, with the required size changing according to trip length, season and equipment.
Food preparation belongs in the overnight setup only when it is needed and permitted: pack a stove, fuel, pot or cooking system, and the supplies required to clean up. Do not assume fires or stoves are allowed at every campsite; check the local rules and follow National Park Service backpacking guidance.
Documents
- Identification and access: Carry identification, plus any permit, reservation or campsite booking required for the route.
- Route information: Save or print the trail description, map, access details and relevant emergency information. A screenshot or paper copy remains useful when a phone fails.
- Trip plan: Leave the route, intended return time and emergency contacts with a trusted person. For remote hikes, include the vehicle or trailhead details and the point at which that person should seek advice.
- Low-impact supplies: Pack what local human-waste rules require, carry out all rubbish and use durable campsites. Leave No Trace guidance also calls for minimising fire impacts.
Tech
- Phone: Start with a fully charged phone and an offline map. Keep it protected from rain and cold, and do not plan on a signal unless the land manager confirms coverage.
- Power: Add a power bank and the correct cable for trips long enough to outlast the phone battery, or for routes where navigation is especially important.
- Remote-route communication: A satellite communicator or personal locator beacon can be considered where coverage is limited and outside help may be difficult to reach. These devices do not guarantee a connection, rescue or a particular response time; learn their operation before departure.
Before you zip the bag: test the pack fit with the actual load, place dense items close to your back, and keep insulation protected from rain. Check water sources, permits and local equipment rules one final time, then remove duplicates that do not improve safety or comfort.
Adapt the kit to weather, terrain and local expectations
Heat and arid terrain
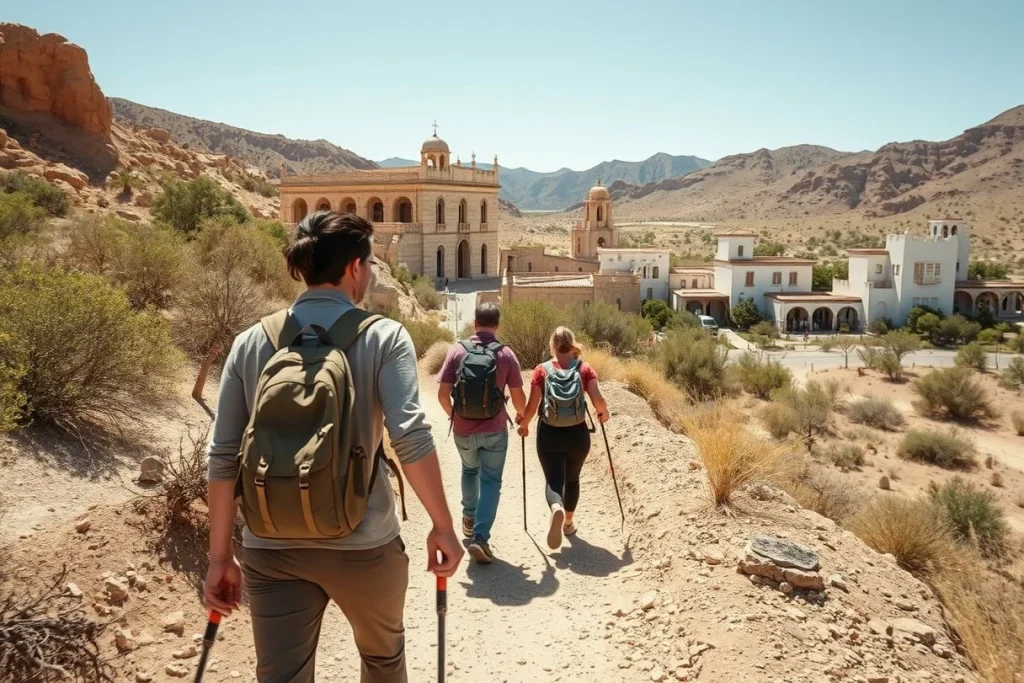
Summer desert hiking needs a different plan from a temperate three-season walk. On routes such as those in Grand Canyon National Park, the National Park Service warns of serious heat, limited water and the possibility of delayed assistance. Follow the park’s current advice on start times, water availability and route conditions; an early start may be appropriate where local guidance recommends it.
Use enough water capacity for the route, forecast and reliable sources rather than adopting one universal quantity. If water is available along the way, carry the treatment method required for that source. Sun protection, a breathable long-sleeved layer, a hat and salty food or electrolytes may also suit hot conditions, but check local guidance for heat illness and water planning before setting out.
Alpine weather and exposed routes
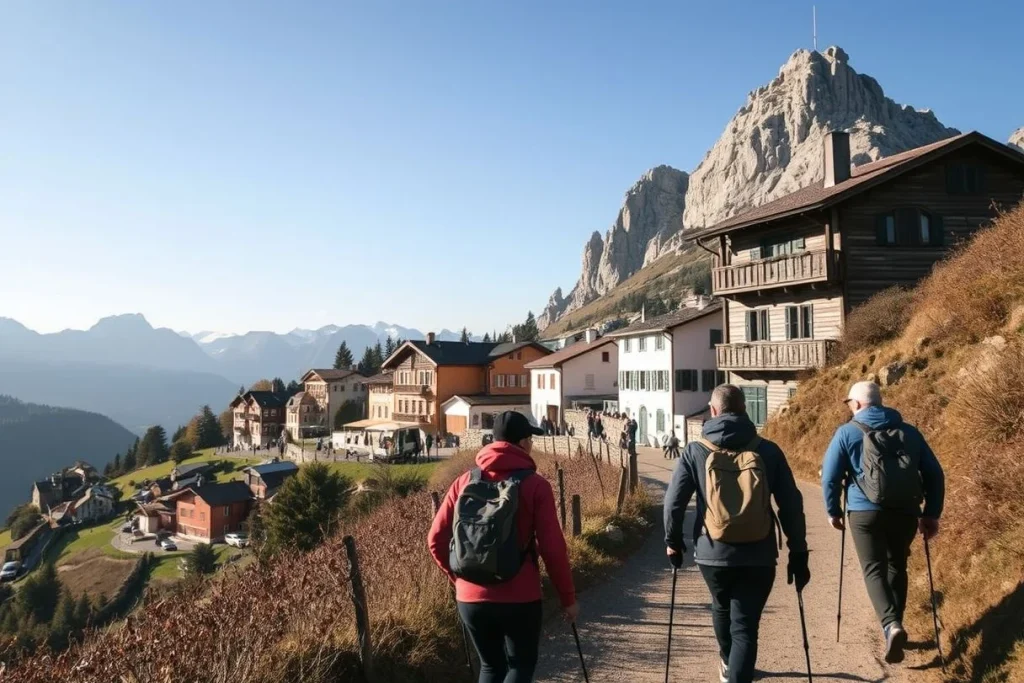
Mountain forecasts can change across elevation and exposure. Check the land manager’s current alerts and trail conditions immediately before departure, as the U.S. National Park Service advises, then pack an insulating layer and waterproof shell even when the trailhead feels mild. An extra warm layer matters most on exposed ridges, at high camps and on routes where wind or storms could slow the return.
Build a conservative turnaround plan into the day. Navigation backups, a headlamp and emergency shelter become particularly important when cloud, rain or a storm could obscure the route or extend the trip; mobile coverage should not be treated as guaranteed. Leave an itinerary with a trusted contact when appropriate, especially for remote terrain.
Snow and winter conditions
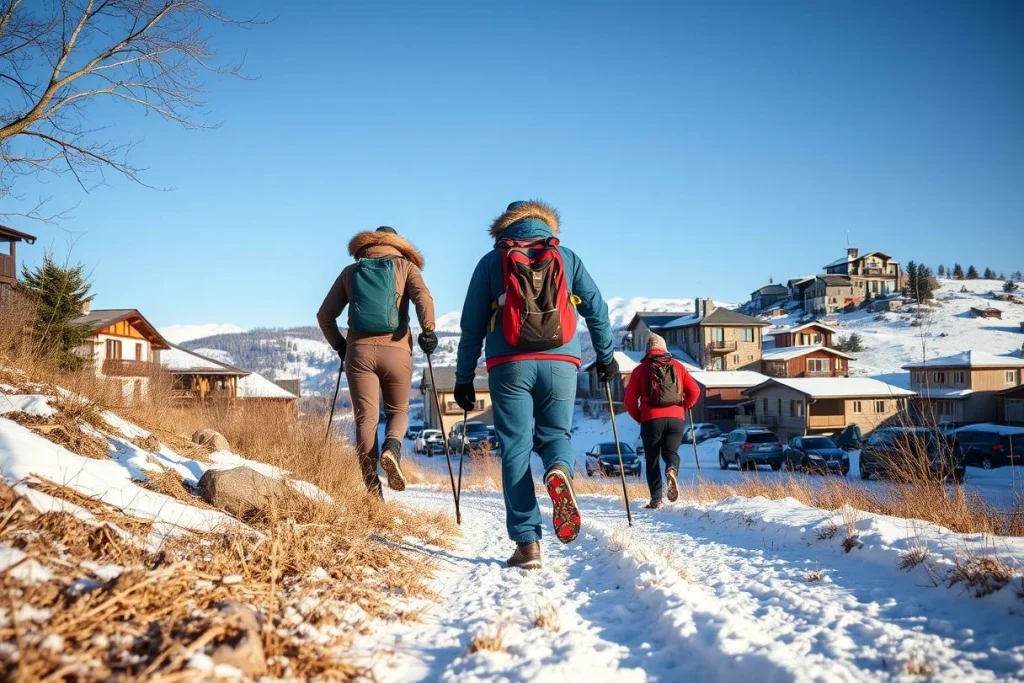
Ordinary hiking shoes are not a complete winter system. Depending on snow, ice and avalanche conditions, winter hiking may require waterproof footwear, gaiters, traction equipment and specialist equipment, information and training. The National Park Service’s winter hiking guidance is a useful starting point, but the chosen land manager’s avalanche information and route advice should decide what belongs in your pack.
Local rules and cultural expectations
At trailheads, villages and religious sites, follow local dress expectations and carry a layer that provides extra coverage when courtesy requires it. That is separate from technical safety: breathable clothing, insulation and rain protection still need to match the forecast and terrain.
Check the local land-manager page for camping zones, toilets, human-waste rules, fires, bear canisters and water restrictions. Apply Leave No Trace principles by packing out waste, using durable campsites and minimising fire impacts. Conditions and restrictions can change, so make this check immediately before leaving rather than relying on a generic hiking gear checklist.
What to leave at home: common over-packing mistakes
Pack for the route, not for every possible adventure. A day hiker should not automatically carry a full overnight kit, while a backpacker should not expect a small daypack to hold a shelter, sleep system and cooking gear safely. As a guide, REI places many day hikes in the 20–30-litre pack range and overnight trips in roughly 40–70 litres, depending on length and season.
- Leave multiple spare outfits behind. Take one hiking outfit, a dry or insulating layer and weather protection suited to the forecast; extra clothing adds weight without replacing a proper layering plan.
- Skip cotton in wet or cold conditions. Choose clothing that continues to insulate or dry reasonably well when conditions change.
- Reduce toiletries. Decant only what you need into small containers rather than carrying full-size bottles, bulky packaging or a separate product for every routine.
- Do not duplicate cookware. On a short backpacking trip, one suitable pot and cooking system can be enough. Carry only the fuel required for the planned meals, while checking local fire and stove rules first.
- Question bulky entertainment and gadgets. Books, large cameras and untested devices rarely earn their place when a phone already covers the intended use.
- Leave specialist equipment at home only when it is not relevant. Borrowing or renting occasional items can make sense for snow travel, technical terrain or a one-off overnight trip, but match the equipment to the actual conditions and learn to use it before departure.
Use a simple test for every item: does it keep you warm, hydrated, fed, oriented, medically prepared or able to respond to a delay? If not, it needs a strong route-specific reason to stay. Do not lighten the pack by removing navigation backup, illumination, water capacity, insulation, emergency shelter, first aid or extra food; hikers should account for limited cell service and leave an itinerary with someone when appropriate.
The safest checklist is the one matched to the route
Choose the day-hike setup for a daylight route, then add only what the trip length and conditions demand. For an overnight, the shelter, temperature-appropriate sleep system and backpack—the “Big Three”—become essential, along with food preparation equipment where permitted, extra food and low-impact camping supplies.
Save or print the relevant checklist and practise carrying the loaded pack before departure. Immediately before leaving, check the specific trail or land-manager page for current alerts, closures, conditions, water sources, permits and reservations; also review the forecast and leave an emergency plan with a trusted contact. If the route is remote, treat limited mobile coverage as normal and keep navigation, illumination, first aid and emergency shelter in the pack.
Frequently asked questions
How do I choose between a daypack and an overnight backpack?
Choose a daypack when your load is limited to the essentials for a single outing. REI guidance places many day-hike packs at approximately 20–30 litres. For a one- to three-night trip, you need space for shelter, a temperature-appropriate sleep system, food, water and cooking equipment where permitted; REI gives approximately 40–70 litres for overnight or backpacking trips, depending on length and season.
Can I use trekking poles on both day hikes and backpacking trips?
The supplied REI and National Park Service checklists do not set a separate rule for trekking poles, so they are not a universal requirement in either setup. Decide based on the route, terrain, load and your experience, then check local guidance for terrain-specific hazards such as snow, ice or river crossings. Do not add poles at the expense of navigation, water, insulation or emergency equipment.
How should I pack food so it is easy to reach on the trail?
Keep the food you expect to eat during the day accessible, and separate it from the reserve portion so a short stop does not require unpacking the whole bag. Carry extra food beyond the planned minimum; REI’s checklist includes extra food, and the supplied guidance recommends at least an additional meal when delays are possible. For overnight trips, include the cooking system and fuel only where they are permitted and needed.
What is the safest way to test new hiking gear before a trip?
The cited guidance does not prescribe a formal testing method. A sensible approach is to use unfamiliar gear on a shorter, less remote outing before relying on it for an overnight trip, checking that it works with your clothing, pack and navigation setup. Do not use a first overnight trip to discover whether your shelter, sleep system, footwear or water-treatment method suits the forecast and route.
How do I prepare for a hike where the forecast may change quickly?
Start with the current forecast, then check the relevant park or land-manager page for alerts, trail conditions and restrictions immediately before departure. Pack layered clothing, insulation and a waterproof shell appropriate to the expected conditions, plus illumination, navigation backups, first aid and emergency shelter. National Park Service guidance also recommends accounting for limited mobile service and leaving an itinerary with someone when appropriate.
What should I do with rubbish and human waste while camping?
Follow the local land manager’s human-waste rules and bring the supplies those rules require. Pack out all rubbish rather than leaving it at camp. Leave No Trace guidance supplied here also calls for using durable campsites and minimising fire impacts; requirements can vary by destination, so check the relevant park or land-manager website before departure.